By Steven Eschinger | March 8, 2017
This post was updated on September 18th, 2017 for Kubernetes version 1.7.6 & Kops version 1.7.0
Introduction
In this lab, we will look at integrating Jenkins with your Kubernetes cluster. Jenkins is an open source automation server which is commonly used as a continuous integration and continuous delivery application.
Integrating Jenkins with Kubernetes using the Kubernetes plugin provides several key benefits. No longer are you required to maintain a static pool of Jenkins slaves and have those resources sitting idle when no jobs are being run.
The Kubernetes plugin will orchestrate the creation and tear-down of Jenkins slaves when jobs are being run. This makes things easier to manage, optimizes your resource usage and makes it possible to share resources with an existing Kubernetes cluster running other workloads.
In this first post related to Jenkins, we will focus on creating the Jenkins Deployment and Service. And we will be using a Persistent Volume to store the Jenkins configuration in a dedicated AWS EBS volume, which will preserve that data in the event of a Pod failure.
We will then install and configure the Kubernetes plugin and then run a test job to confirm that the integration was successful.
Finally, you will see how to create your own custom Docker image for Jenkins, with the Kubernetes integration incorporated.
And in the next post, we will setup a example continuous deployment pipeline for the Hugo site we have used in previous posts.
Activities
- Deploy a new cluster
- Deploy and configure Jenkins
- Install and configure the Kubernetes Jenkins plugin
- Create the test pipeline Jenkins job
- Create a custom Docker image for Jenkins
- Delete the cluster
Warning: Some of the AWS resources that will be created in the following lab are not eligible for the AWS Free Tier and therefore will cost you money. For example, running a three node cluster with the suggested instance size of t2.medium will cost you around $0.20 per hour based on current pricing.
Prerequisites
Review the Getting Started section in the introductory post of this blog series
Log into the Vagrant box or your prepared local host environment
Update and then load the required environment variables:
# Must change: Your domain name that is hosted in AWS Route 53
export DOMAIN_NAME="k8s.kumorilabs.com"

# Friendly name to use as an alias for your cluster
export CLUSTER_ALIAS="usa"

# Leave as-is: Full DNS name of you cluster
export CLUSTER_FULL_NAME="${CLUSTER_ALIAS}.${DOMAIN_NAME}"

# AWS availability zone where the cluster will be created
export CLUSTER_AWS_AZ="us-east-1a"

# Leave as-is: AWS Route 53 hosted zone ID for your domain
export DOMAIN_NAME_ZONE_ID=$(aws route53 list-hosted-zones \
       | jq -r '.HostedZones[] | select(.Name=="'${DOMAIN_NAME}'.") | .Id' \
       | sed 's/\/hostedzone\///')
Implementation
Deploy a new cluster
Create the S3 bucket in AWS, which will be used by Kops for cluster configuration storage:
aws s3api create-bucket --bucket ${CLUSTER_FULL_NAME}-state
Set the KOPS_STATE_STORE variable to the URL of the S3 bucket that was just created:
export KOPS_STATE_STORE="s3://${CLUSTER_FULL_NAME}-state"
Create the cluster with Kops:
kops create cluster \
     --name=${CLUSTER_FULL_NAME} \
     --zones=${CLUSTER_AWS_AZ} \
     --master-size="t2.medium" \
     --node-size="t2.medium" \
     --node-count="2" \
     --dns-zone=${DOMAIN_NAME} \
     --ssh-public-key="~/.ssh/id_rsa.pub" \
     --kubernetes-version="1.7.6" --yes
It will take approximately five minutes for the cluster to be ready. To check if the cluster is ready:
kubectl get nodes
NAME                            STATUS    AGE       VERSION
ip-172-20-48-9.ec2.internal     Ready     4m        v1.7.6
ip-172-20-55-48.ec2.internal    Ready     2m        v1.7.6
ip-172-20-58-241.ec2.internal   Ready     3m        v1.7.6
Deploy and configure Jenkins
Before we deploy Jenkins, let’s first take a look at the jenkins-deploy.yaml manifest file:
apiVersion: extensions/v1beta1
kind: Deployment
metadata:
  name: jenkins-leader
spec:
  replicas: 1
  template:
    metadata:
      labels:
        app: jenkins-leader
    spec:
      securityContext:
        fsGroup: 99
      containers:
        - name: jenkins-leader
          image: jenkins
>         volumeMounts:
>           - name: jenkins-home
>             mountPath: /var/jenkins_home
          ports:
            - containerPort: 8080
            - containerPort: 50000
>     volumes:
>     - name: jenkins-home
>       persistentVolumeClaim:
>         claimName: jenkins-leader-pvc
You’ll notice the additional configuration highlighted above for the jenkins-home volume mount, which maps to the /var/jenkins_home directory in the Jenkins container. This directory is where all the configuration files for Jenkins are stored.
The jenkins-home volume mount is associated with the Persistent Volume Claim called jenkins-leader-pvc. And below is the jenkins-per-vol-claim.yaml manifest file for the jenkins-leader-pvc Persistent Volume Claim:
apiVersion: v1
kind: PersistentVolumeClaim
metadata:
  name: jenkins-leader-pvc
  labels:
    app: jenkins-leader
spec:
  accessModes:
    - ReadWriteOnce
  resources:
    requests:
      storage: 20Gi
This will create a 20 GB AWS EBS volume, which will hold the contents of the /var/jenkins_home directory.
Now let’s create the Jenkins Deployment, Service and Persistent Volume Claim. We will update the Docker image name for the Jenkins container to use the latest base image:
# Set the base Jenkins Docker image name (leave as-is to use the latest version)
export JENKINS_DOCKER_IMAGE="jenkins"

sed -i -e "s|image: .*|image: ${JENKINS_DOCKER_IMAGE}|g" \
    ./kubernetes/jenkins/jenkins-deploy.yaml
kubectl create -f ./kubernetes/jenkins
deployment "jenkins-leader" created
persistentvolumeclaim "jenkins-leader-pvc" created
service "jenkins-leader-svc" created
Wait about a minute for the Service to create the AWS ELB and then create the DNS CNAME record in your Route 53 domain with a prefix of jenkins (e.g., jenkins.k8s.kumorilabs.com), using the dns-record-single.json template file in the repository:
# Set the DNS record prefix & the Service name and then retrieve the ELB URL
export DNS_RECORD_PREFIX="jenkins"
export SERVICE_NAME="jenkins-leader-svc"
export JENKINS_ELB=$(kubectl get svc/${SERVICE_NAME} \
       --template="{{range .status.loadBalancer.ingress}} {{.hostname}} {{end}}")

# Add to JSON file
sed -i -e 's|"Name": ".*|"Name": "'"${DNS_RECORD_PREFIX}.${DOMAIN_NAME}"'",|g' \
    scripts/apps/dns-records/dns-record-single.json
sed -i -e 's|"Value": ".*|"Value": "'"${JENKINS_ELB}"'"|g' \
    scripts/apps/dns-records/dns-record-single.json

# Create DNS records
aws route53 change-resource-record-sets \
    --hosted-zone-id ${DOMAIN_NAME_ZONE_ID} \
    --change-batch file://scripts/apps/dns-records/dns-record-single.json
Browse to the DNS name we just created and you will see the Unlock Jenkins page:
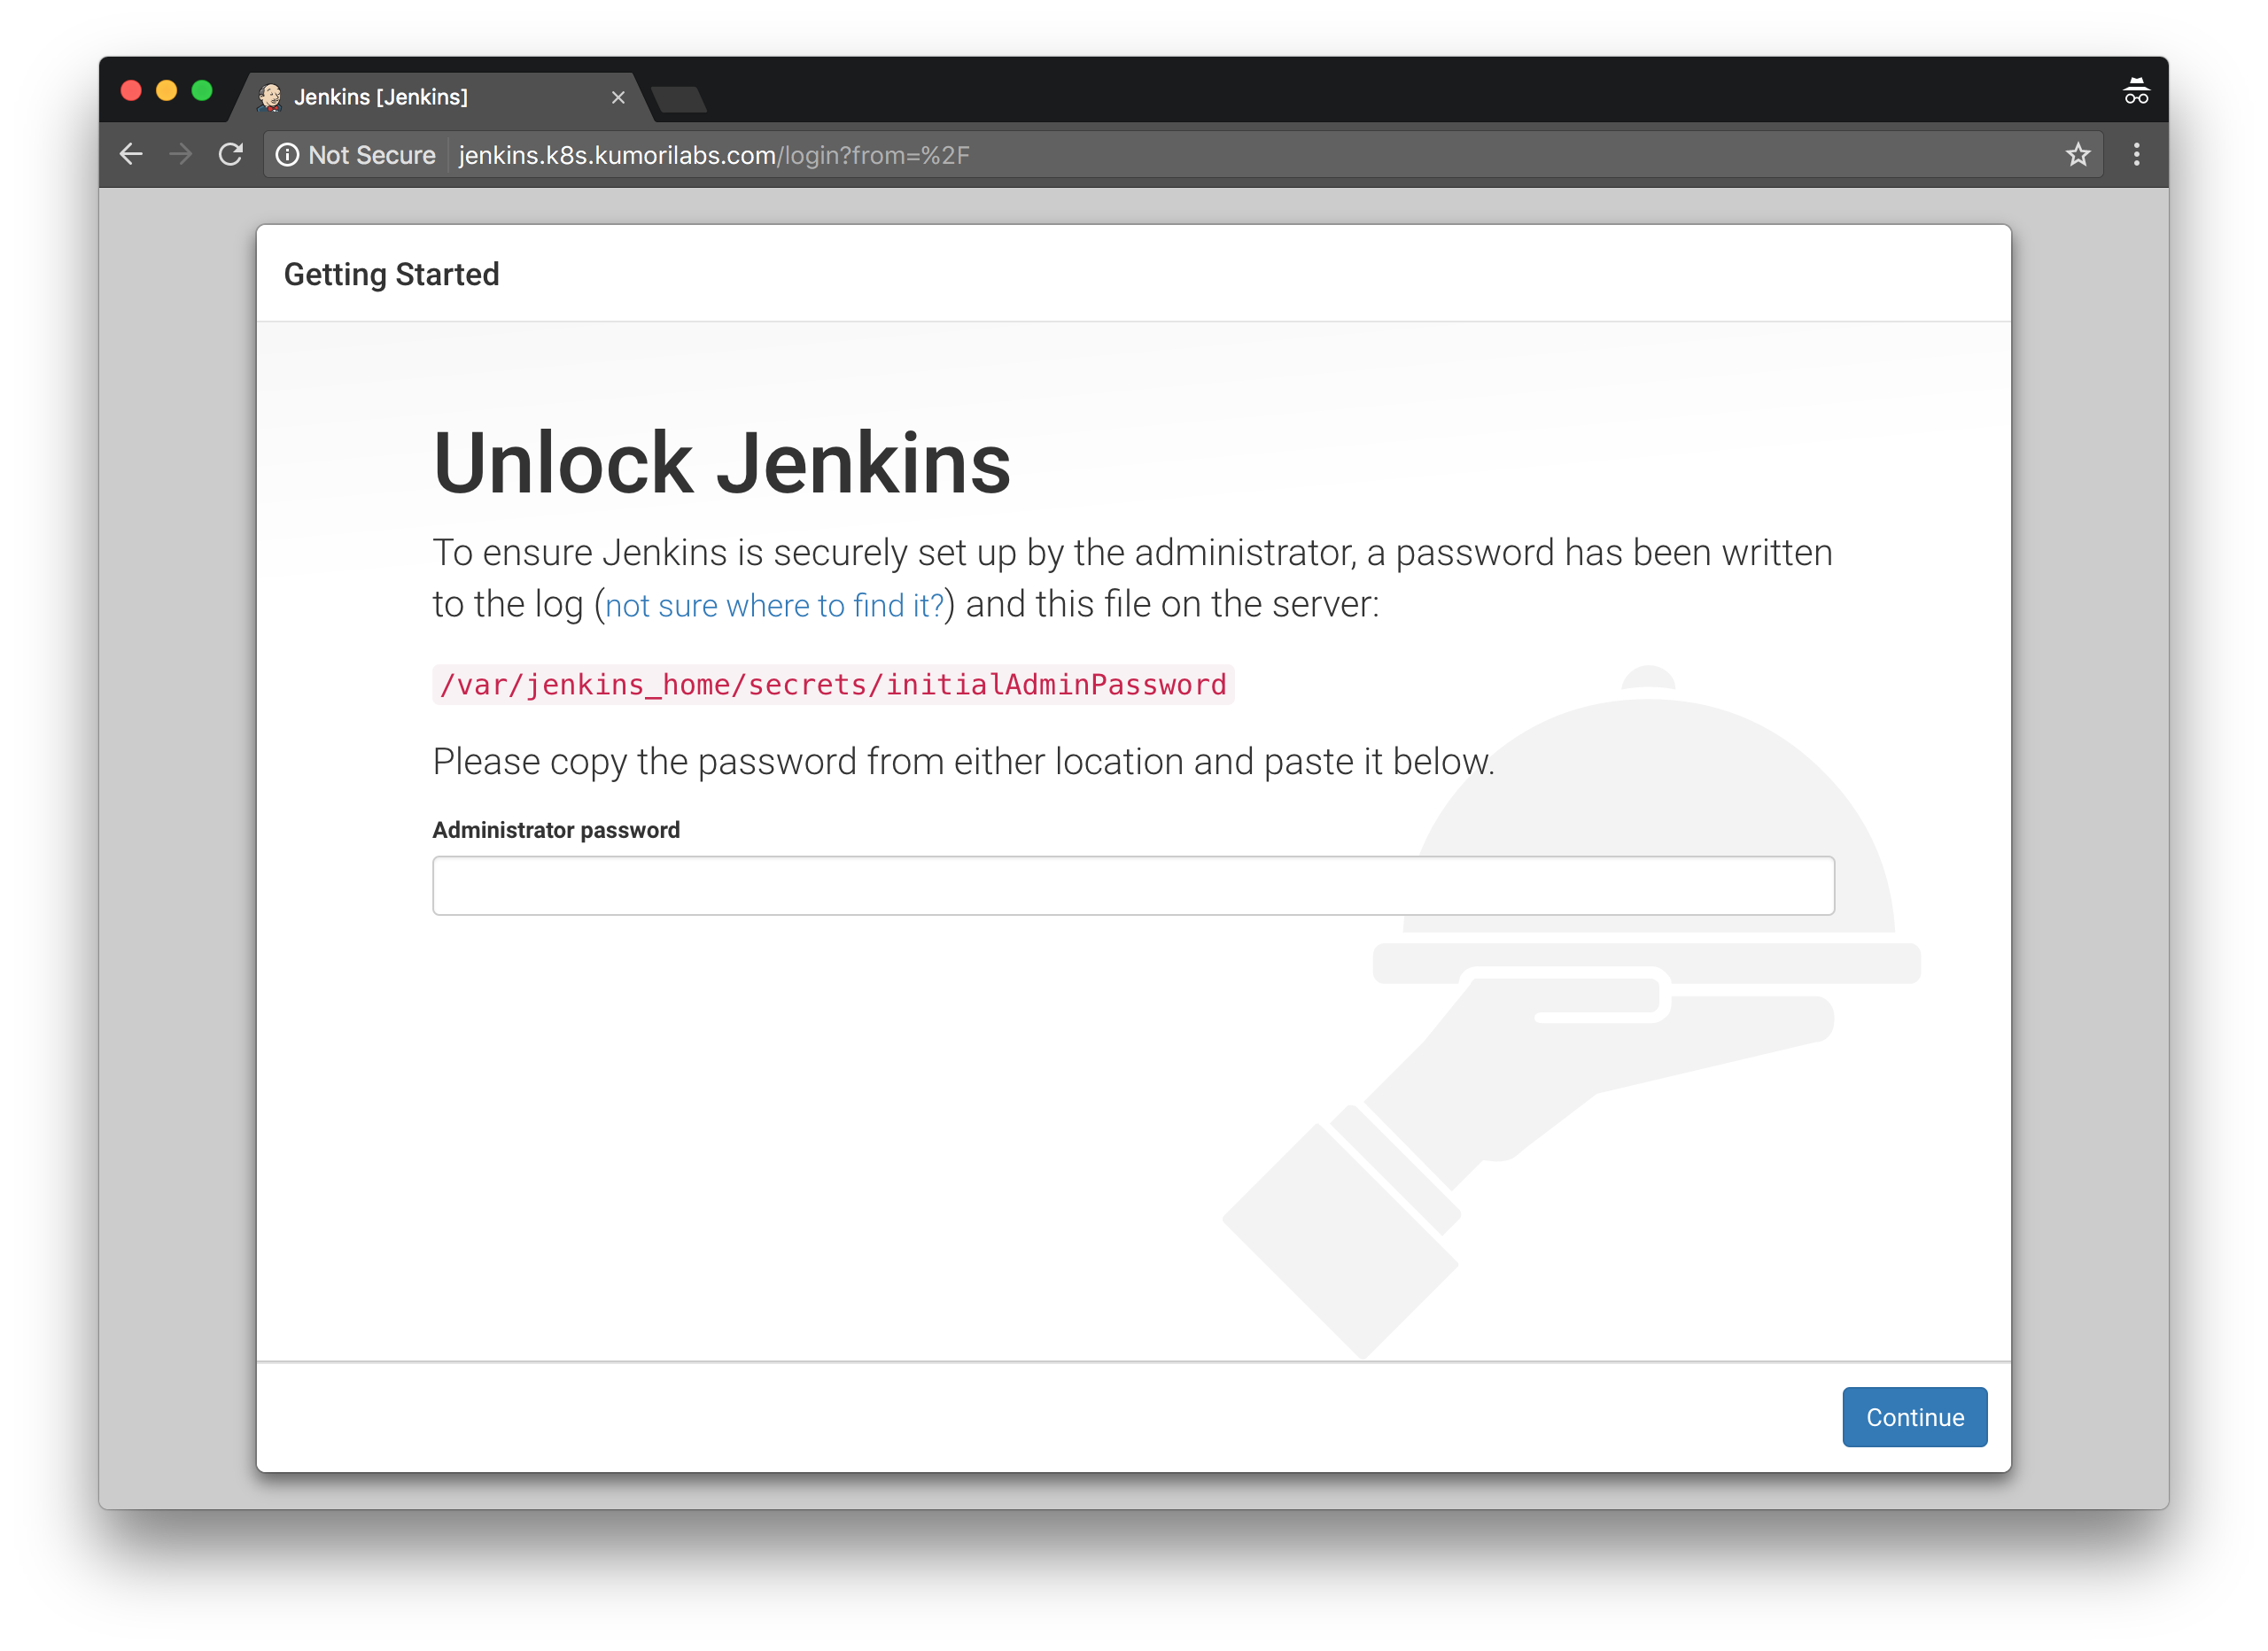
To retrieve the initial admin password, we will first get the name of the Pod:
kubectl get pods
NAME                              READY     STATUS    RESTARTS   AGE
jenkins-leader-4266136971-wt5pl   1/1       Running   0          6m
And then use kubectl exec to execute a cat command inside the Jenkins Pod to display the contents of the password file:
kubectl exec jenkins-leader-4266136971-wt5pl \
        -- cat /var/jenkins_home/secrets/initialAdminPassword
5e8b6b3373c94540b0c6a64be6af24db
Enter the returned string into the password field and click Continue.
On the next page, choose Install suggested plugins:
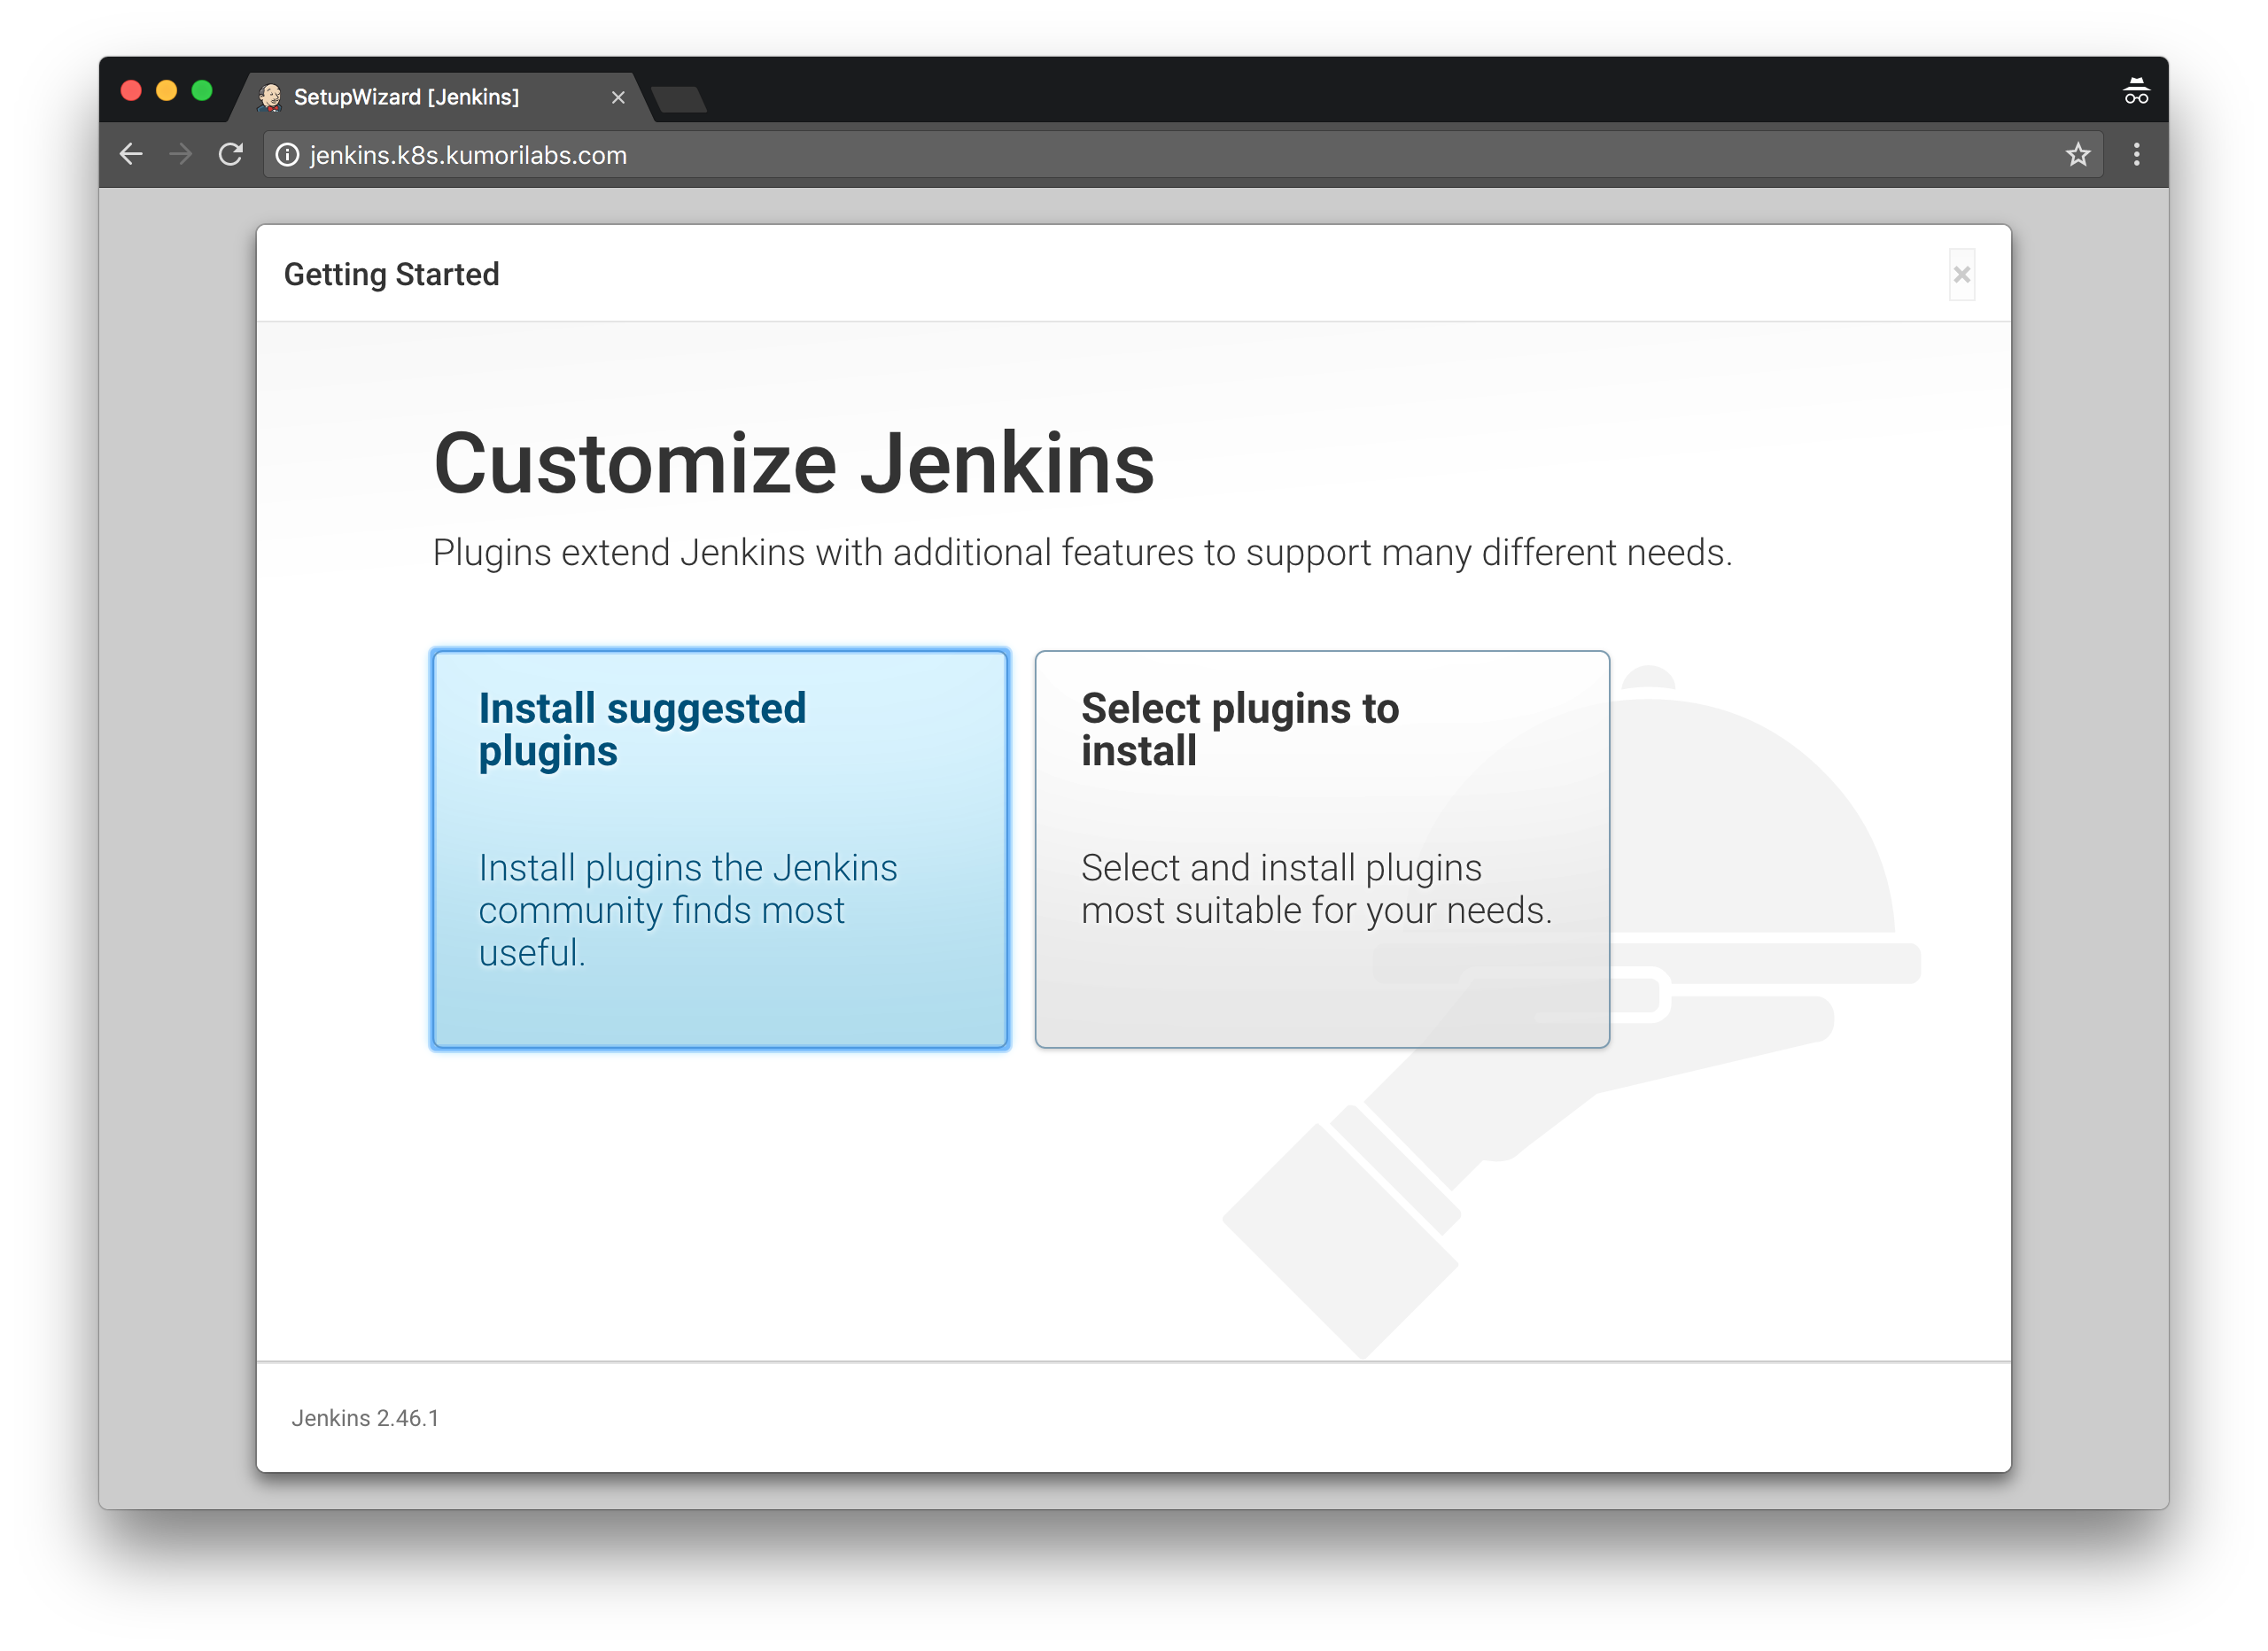
If you happen to receive an error message stating No valid crumb was included in the request at anytime during the setup, go back to the previous page and try again.
On the following pages, click on Continue as admin to skip the creation of the first admin user page, then Start using Jenkins:
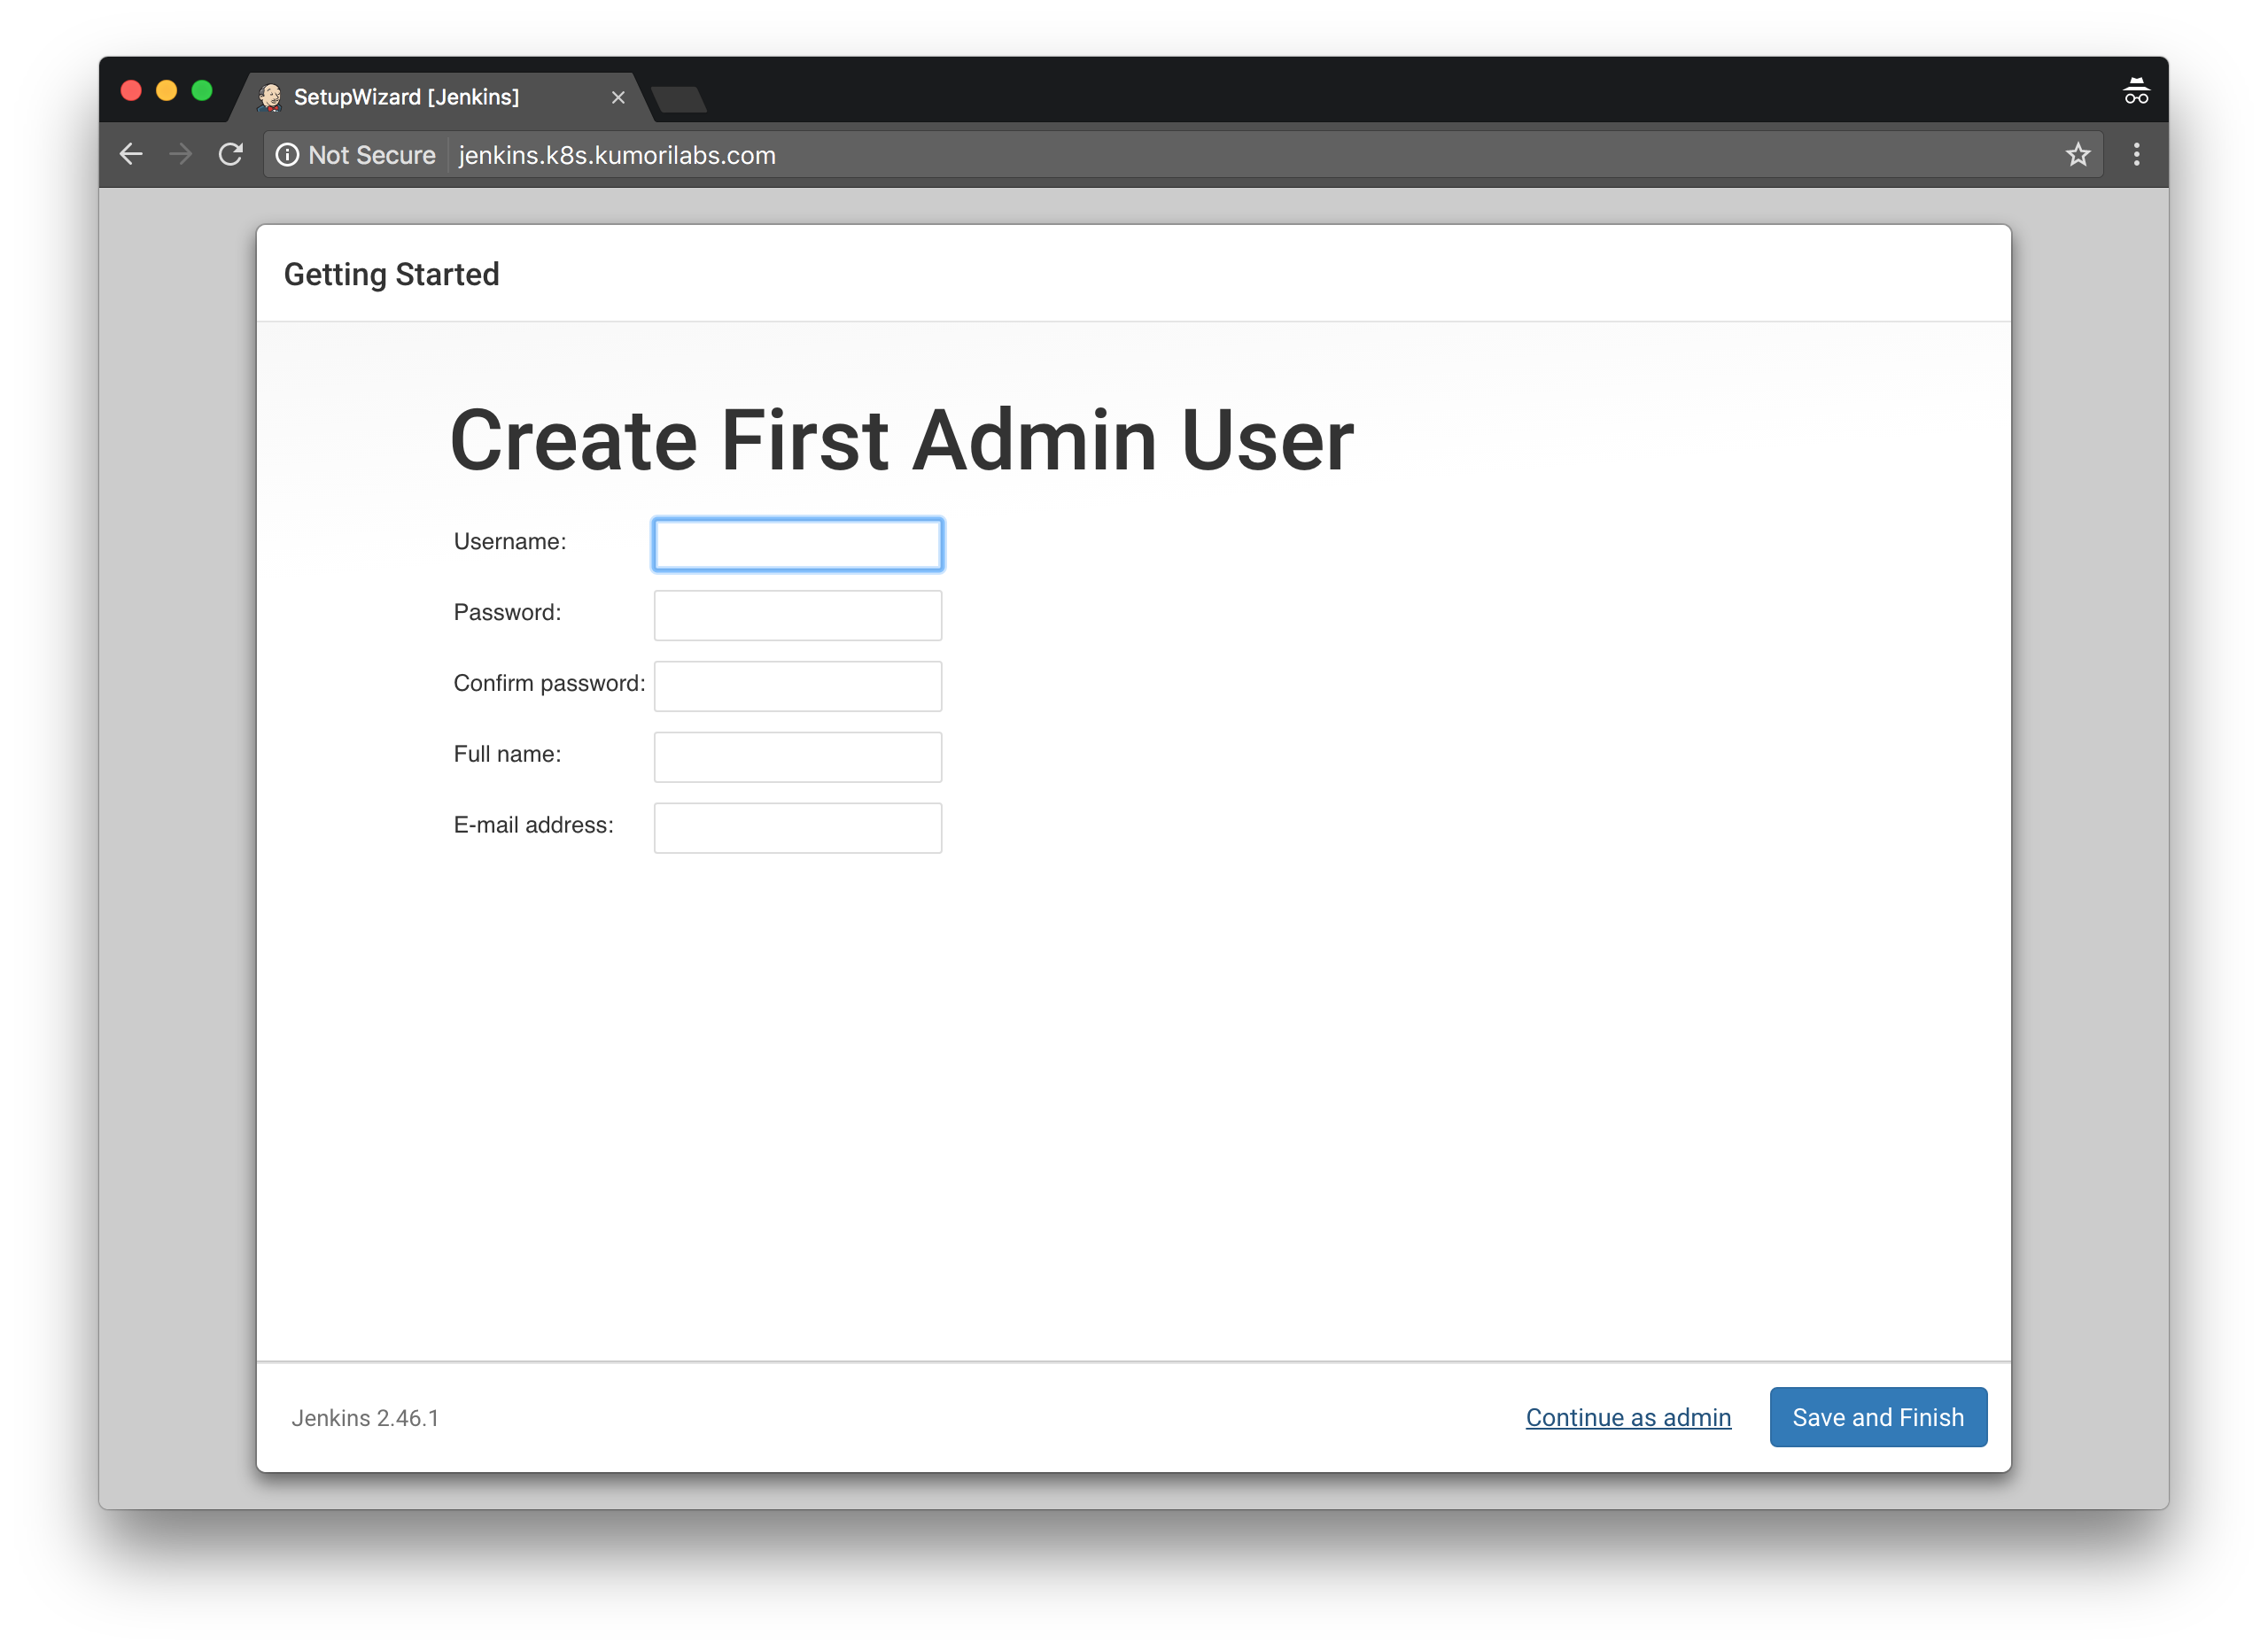
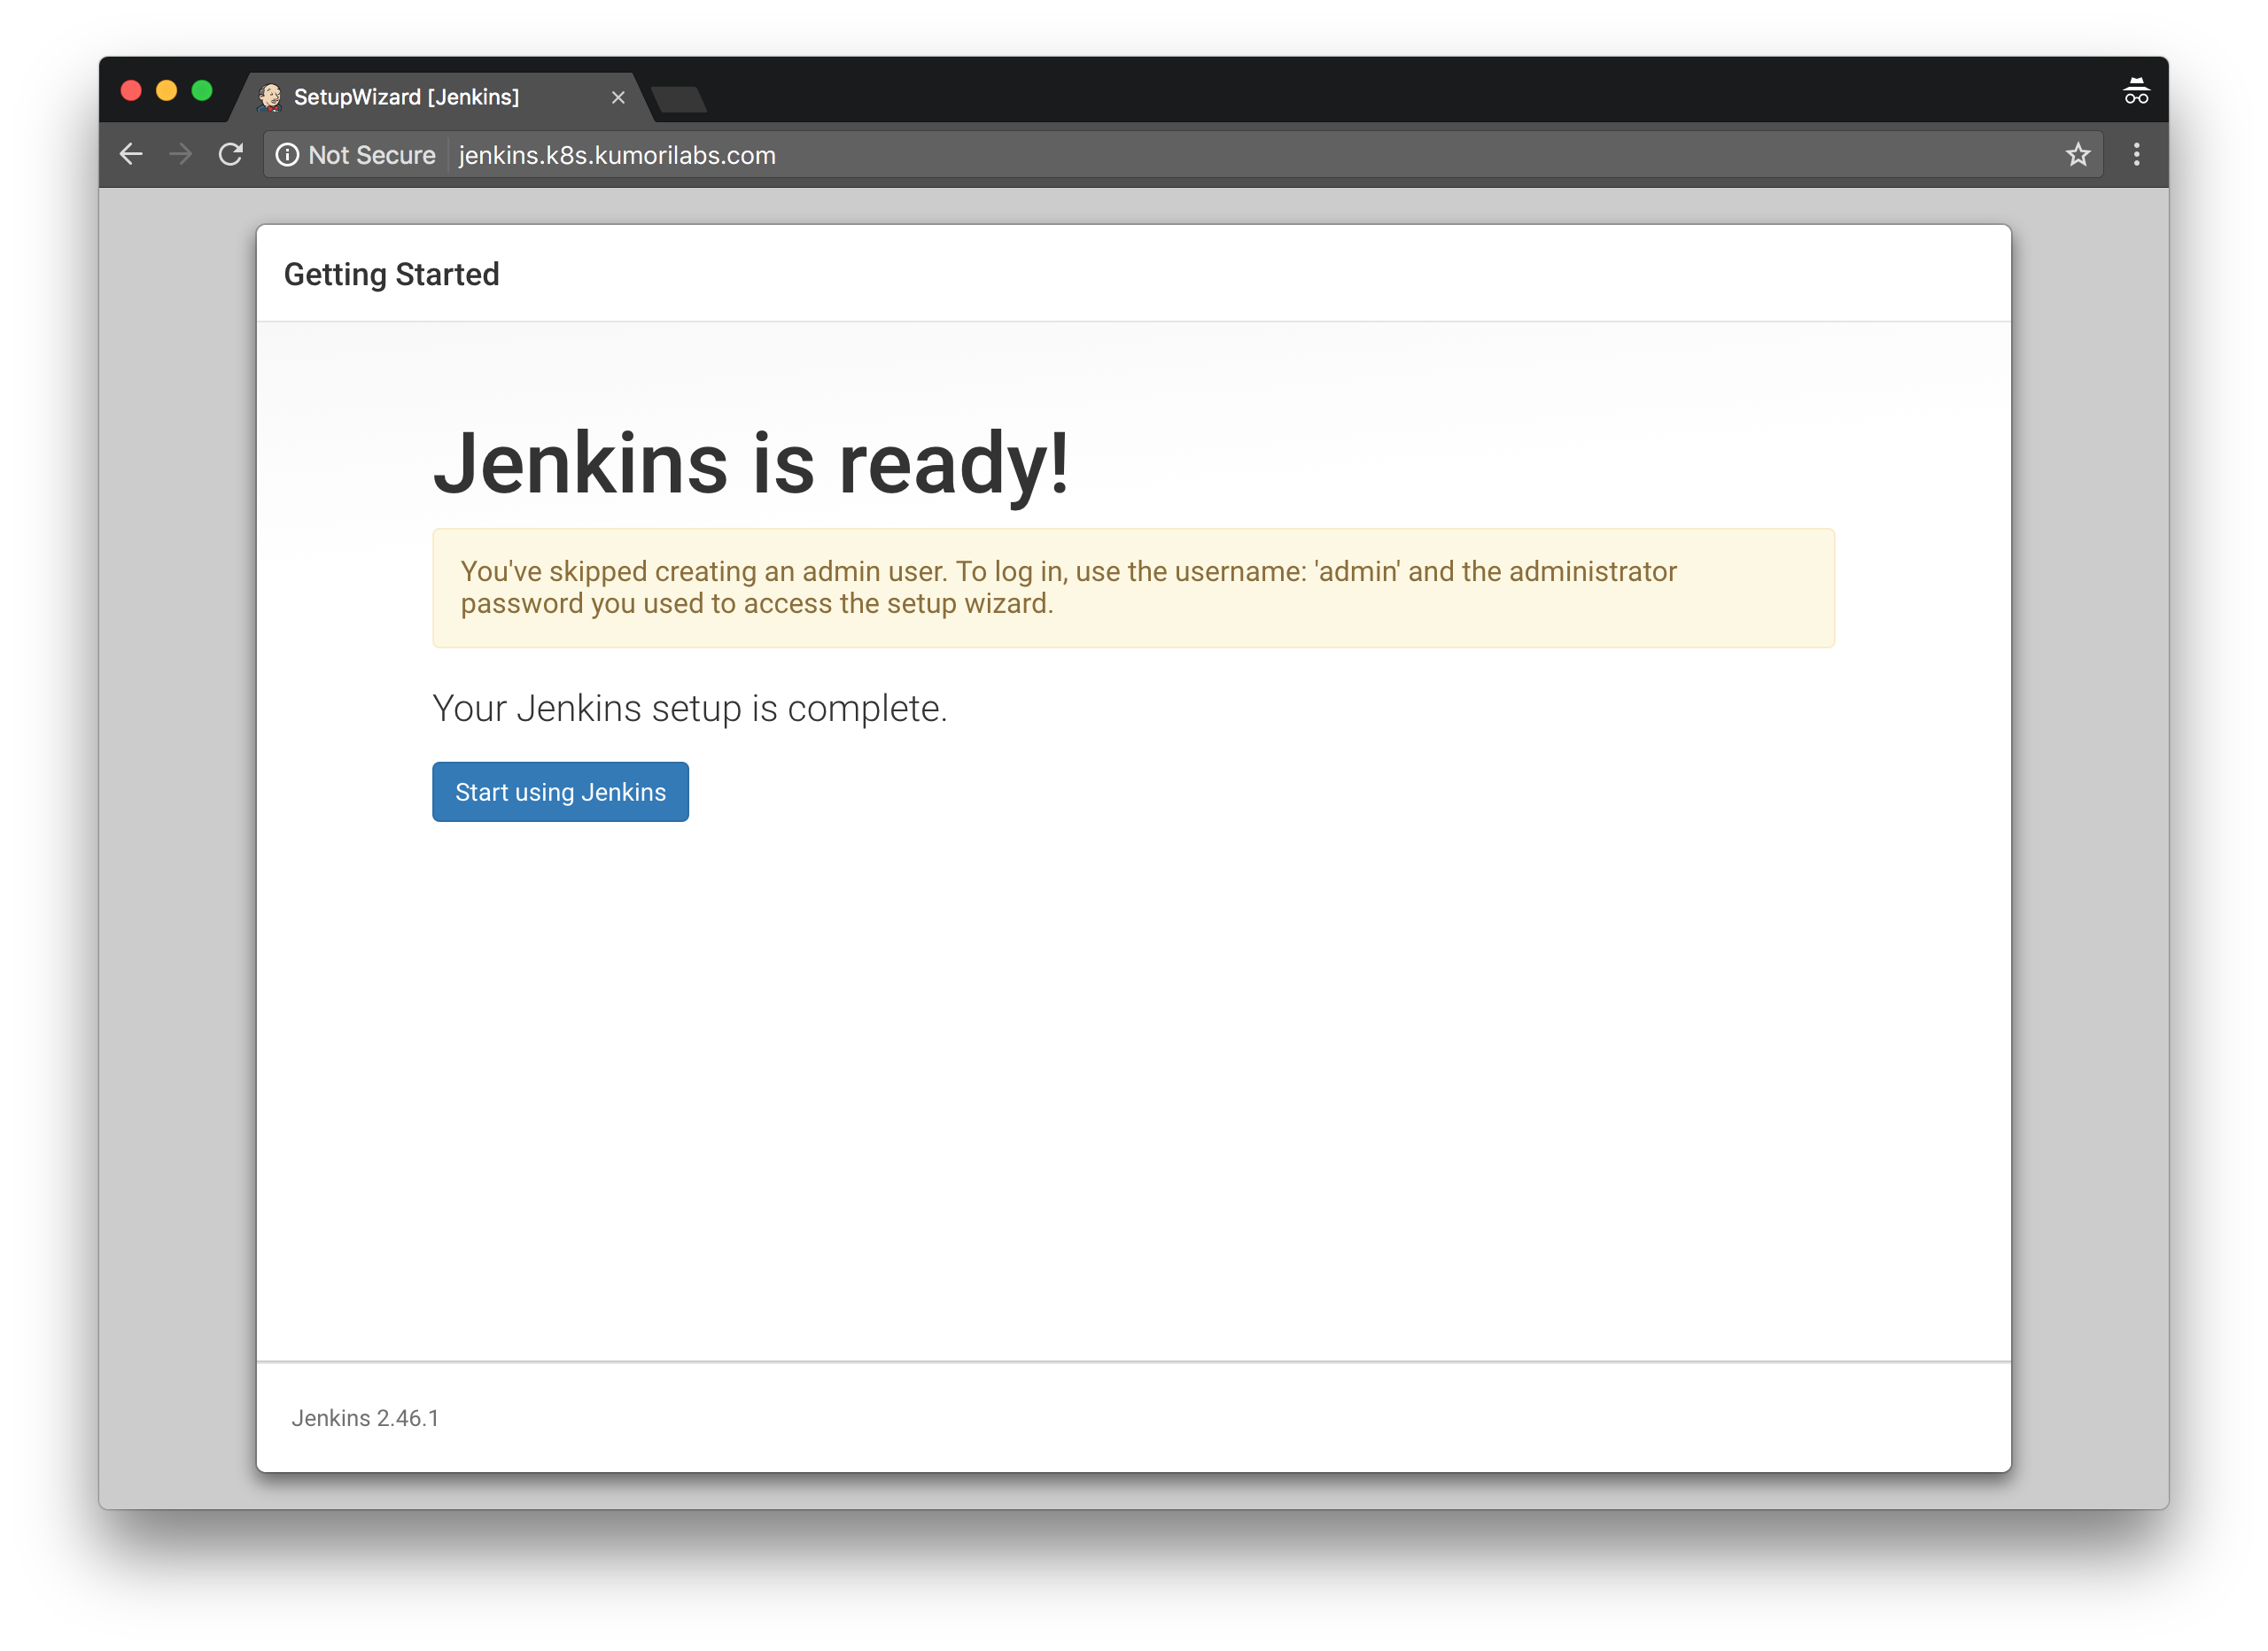
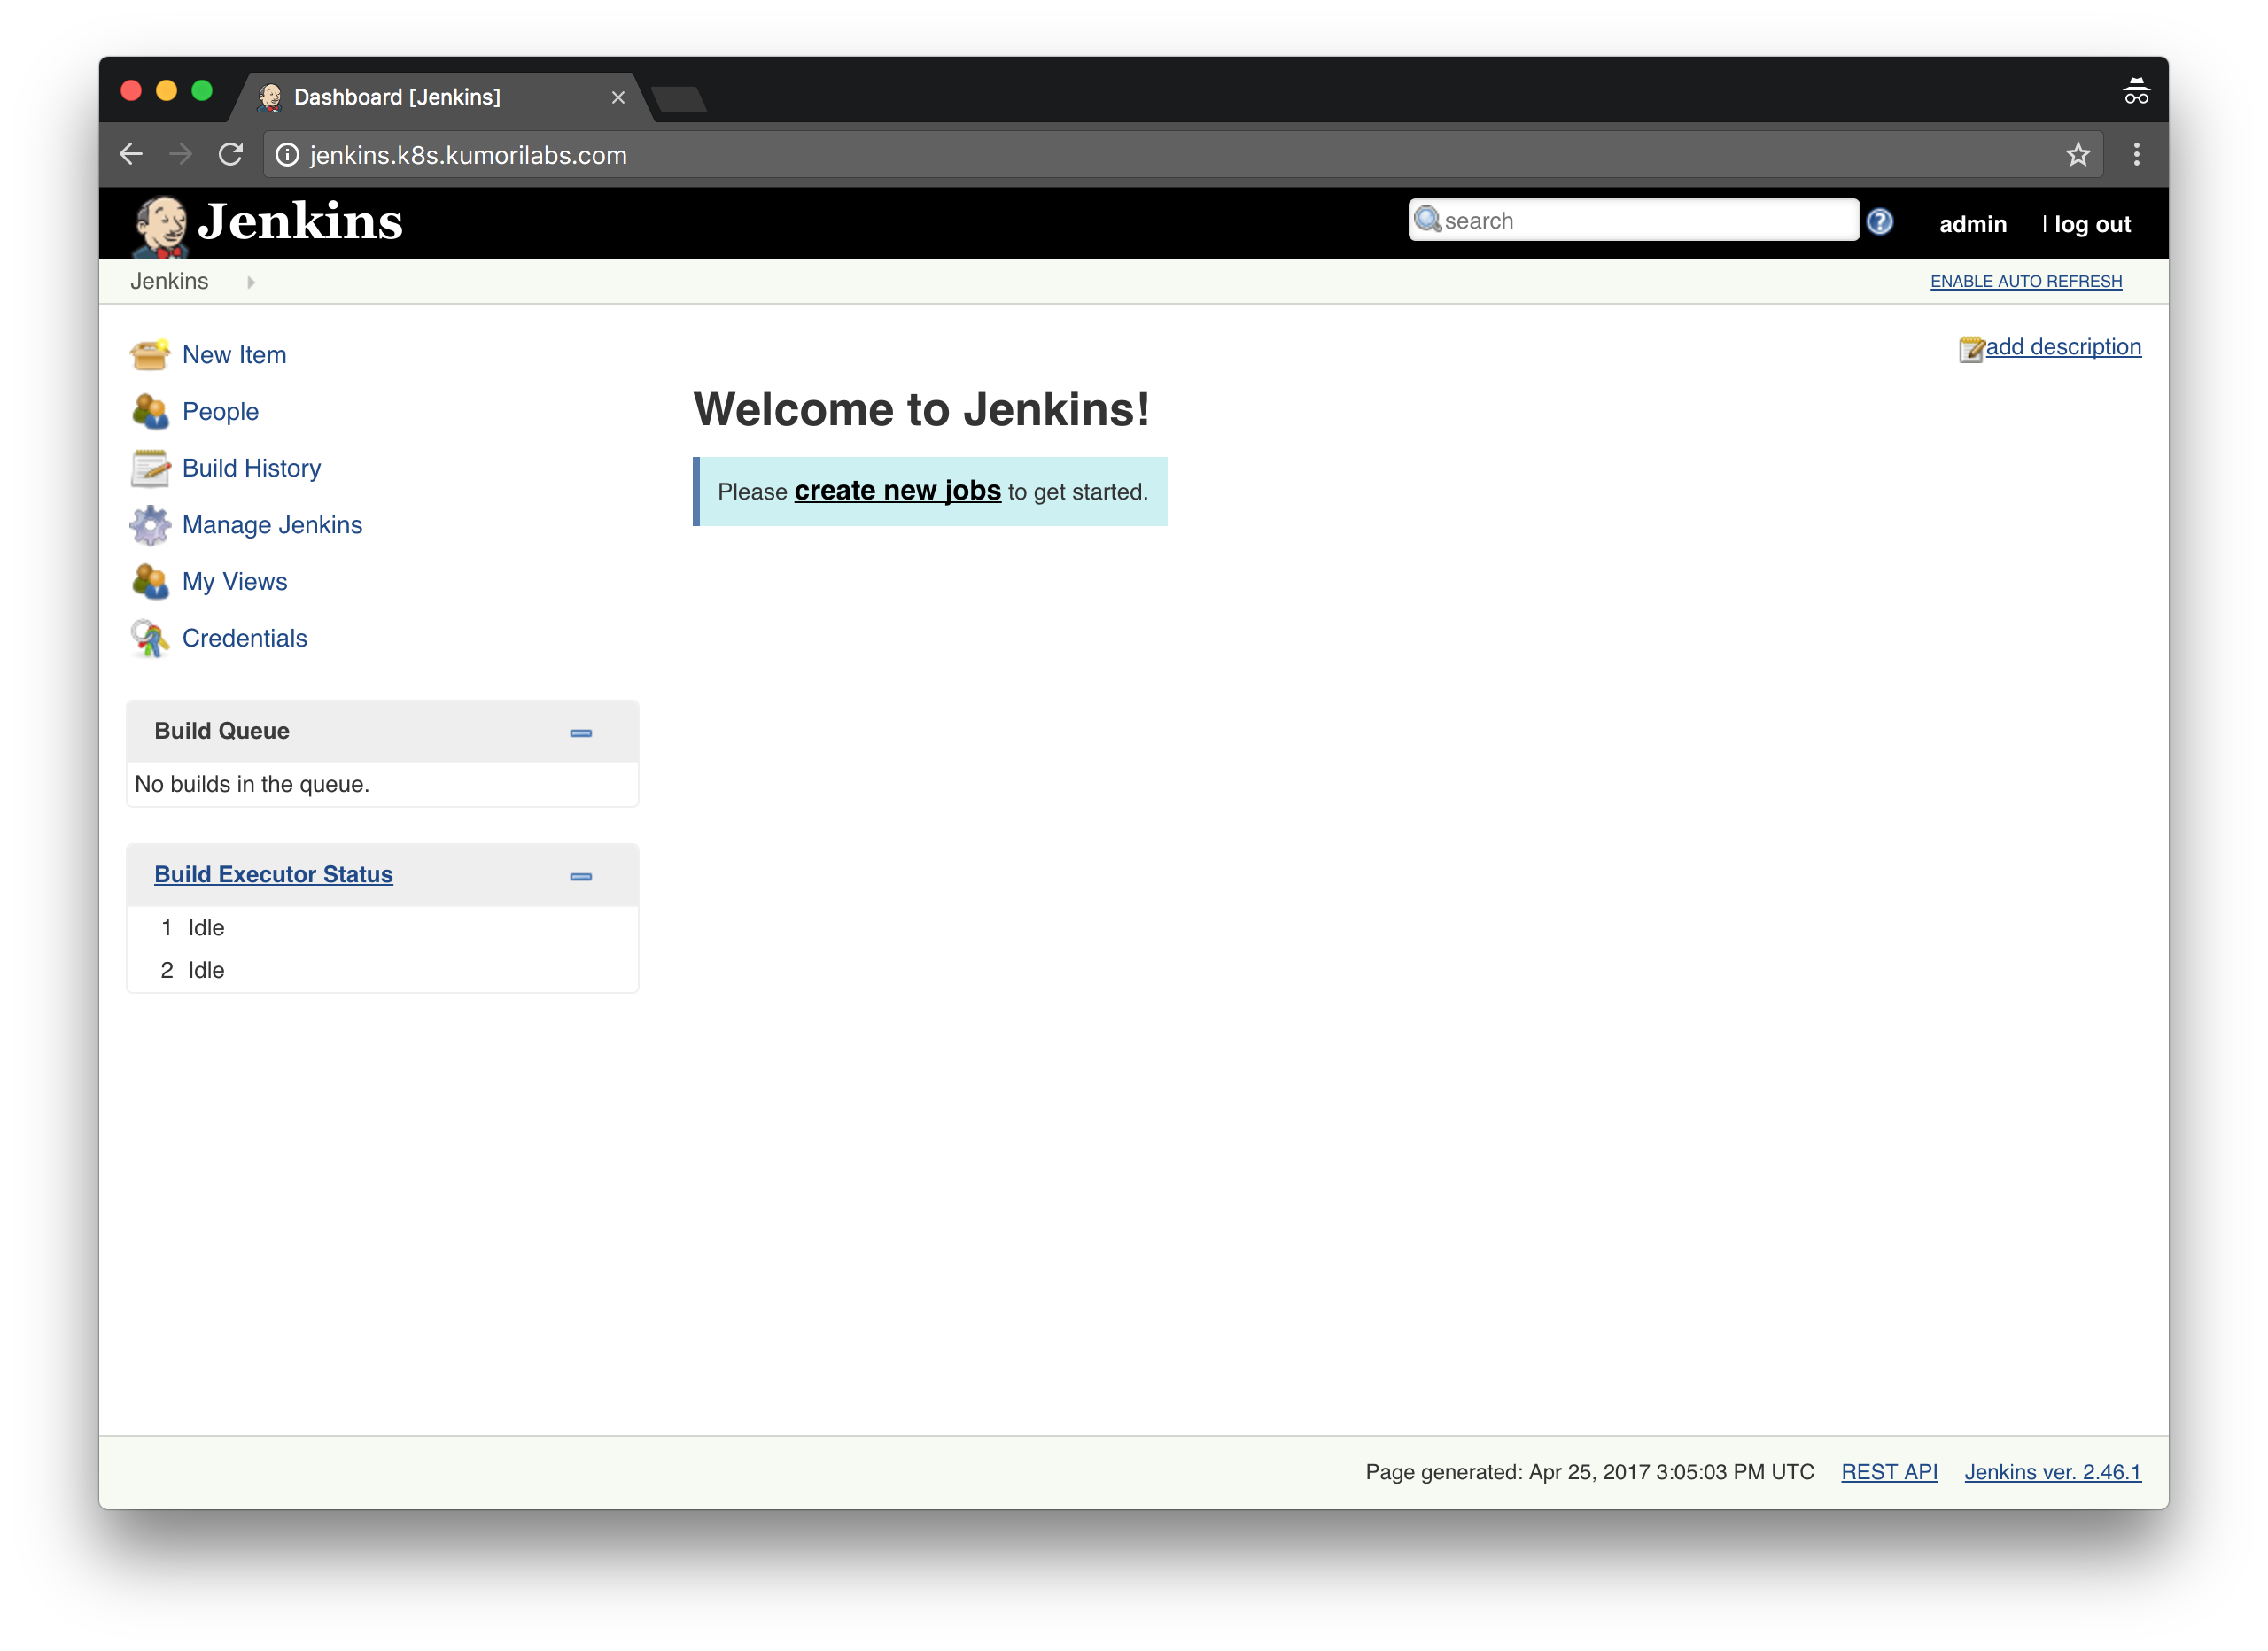
You are now ready to start using Jenkins:
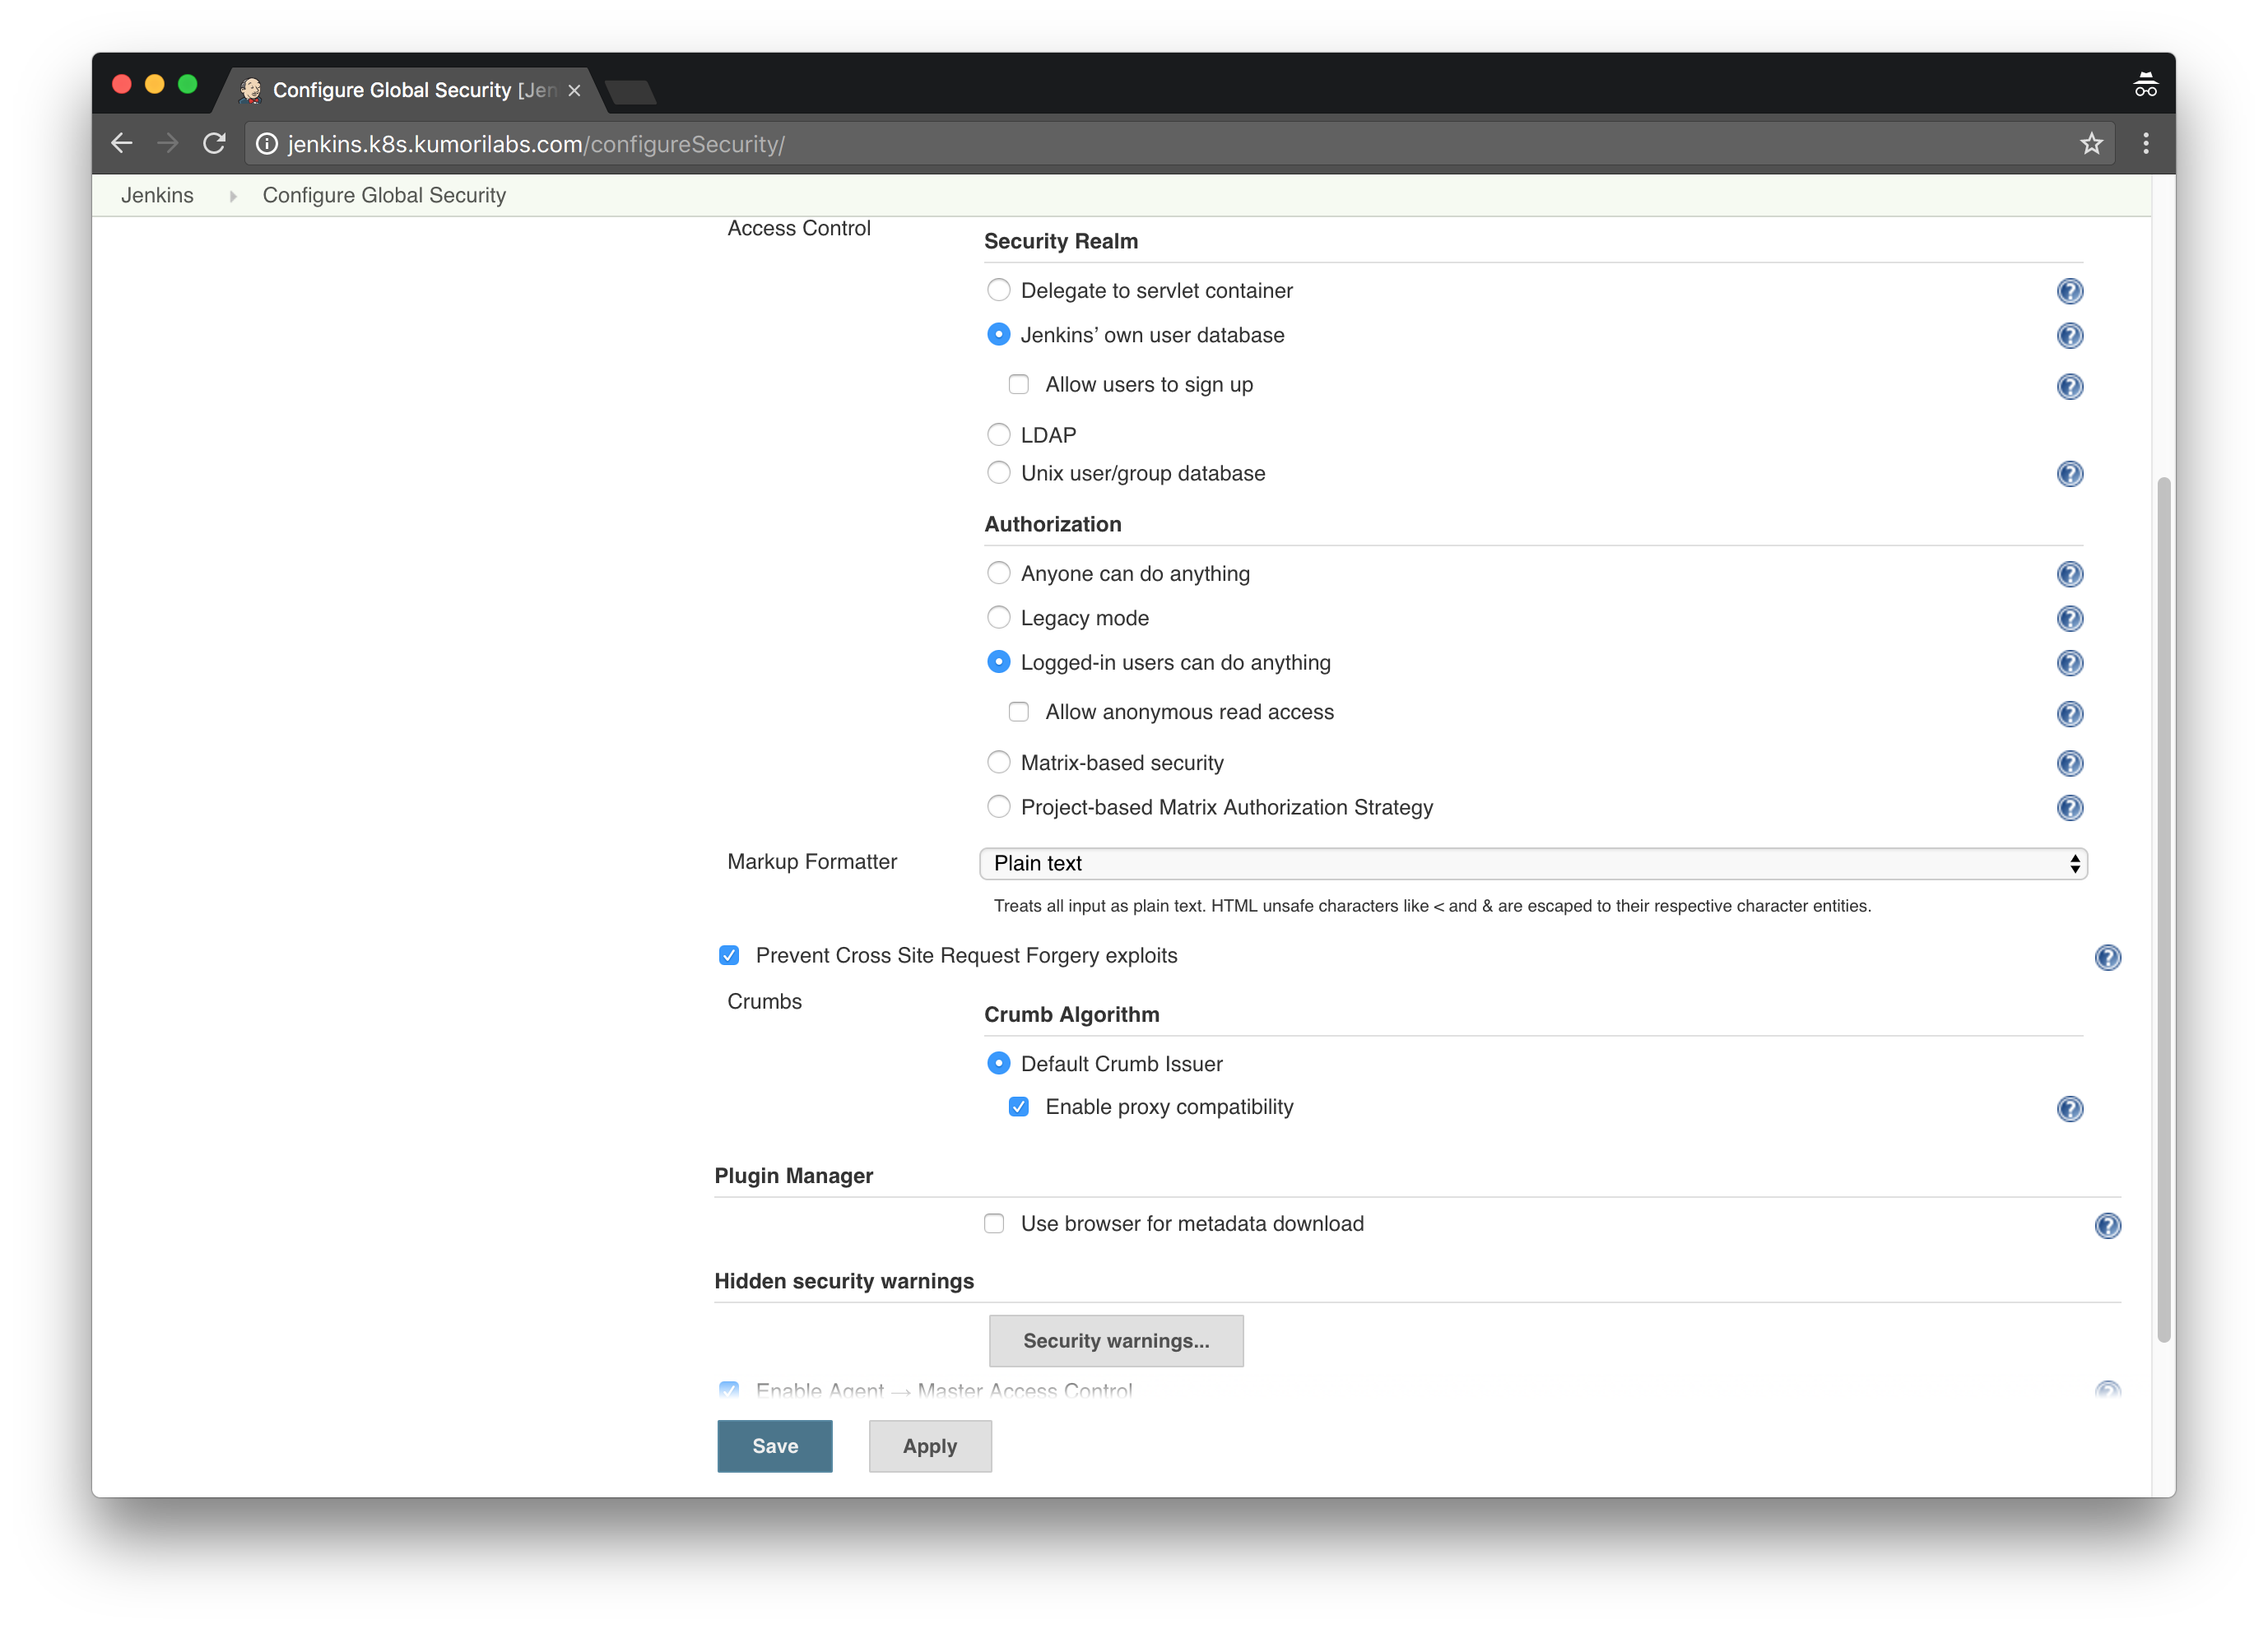
To prevent the No valid crumb was included in the request error from occurring in the future:
Home Page >> Manage Jenkins >> Configure Global Security >> Check the box Enable proxy compatibility under Crumb Algorithm >> Apply >> Save:
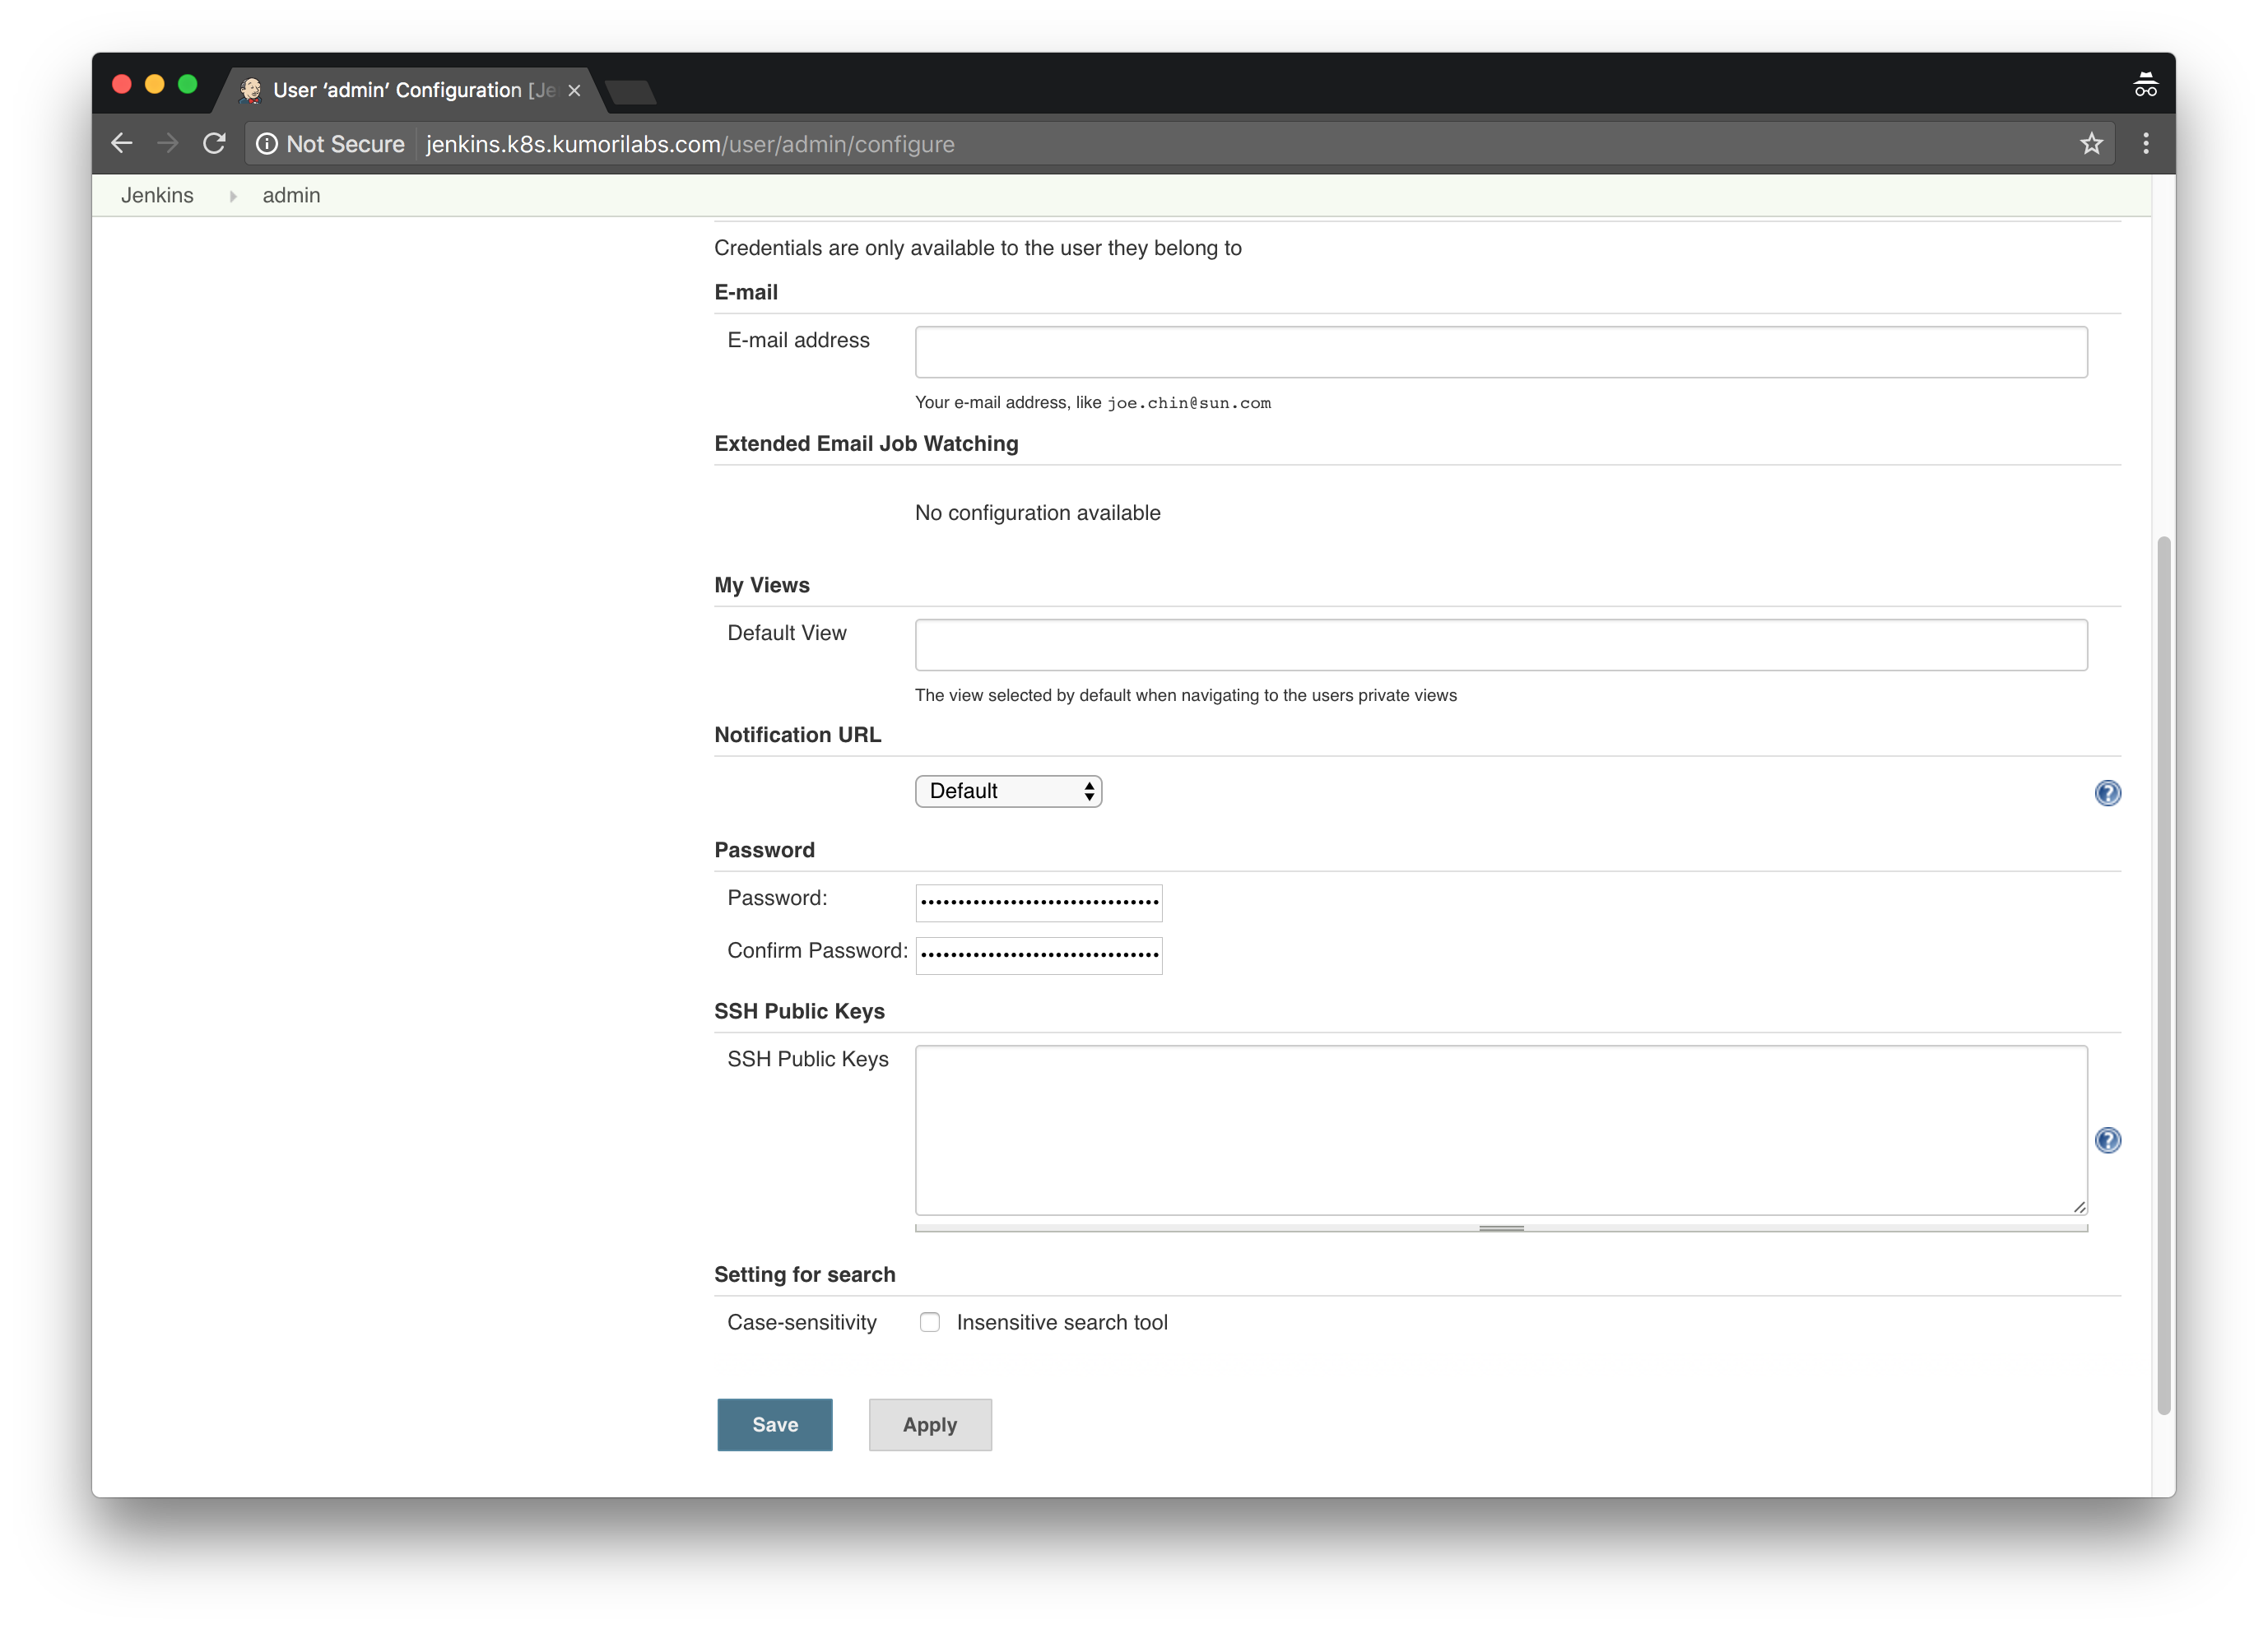
And to configure a password for the admin user account:
Home Page >> People >> Click on the admin user >> Configure >> Enter password twice >> Save:
Install and configure the Kubernetes Jenkins plugin
To install the Kubernetes plugin:
Home Page >> Manage Jenkins >> Manage Plugins >> Click the Available tab >> Filter for “kubernetes” >> Check the box Kubernetes plugin >> Click Install without restart

And with the current version of Jenkins (2.46.2), there is a bug with an existing plugin. This may no longer be an issue if you are using a newer version of Jenkins.
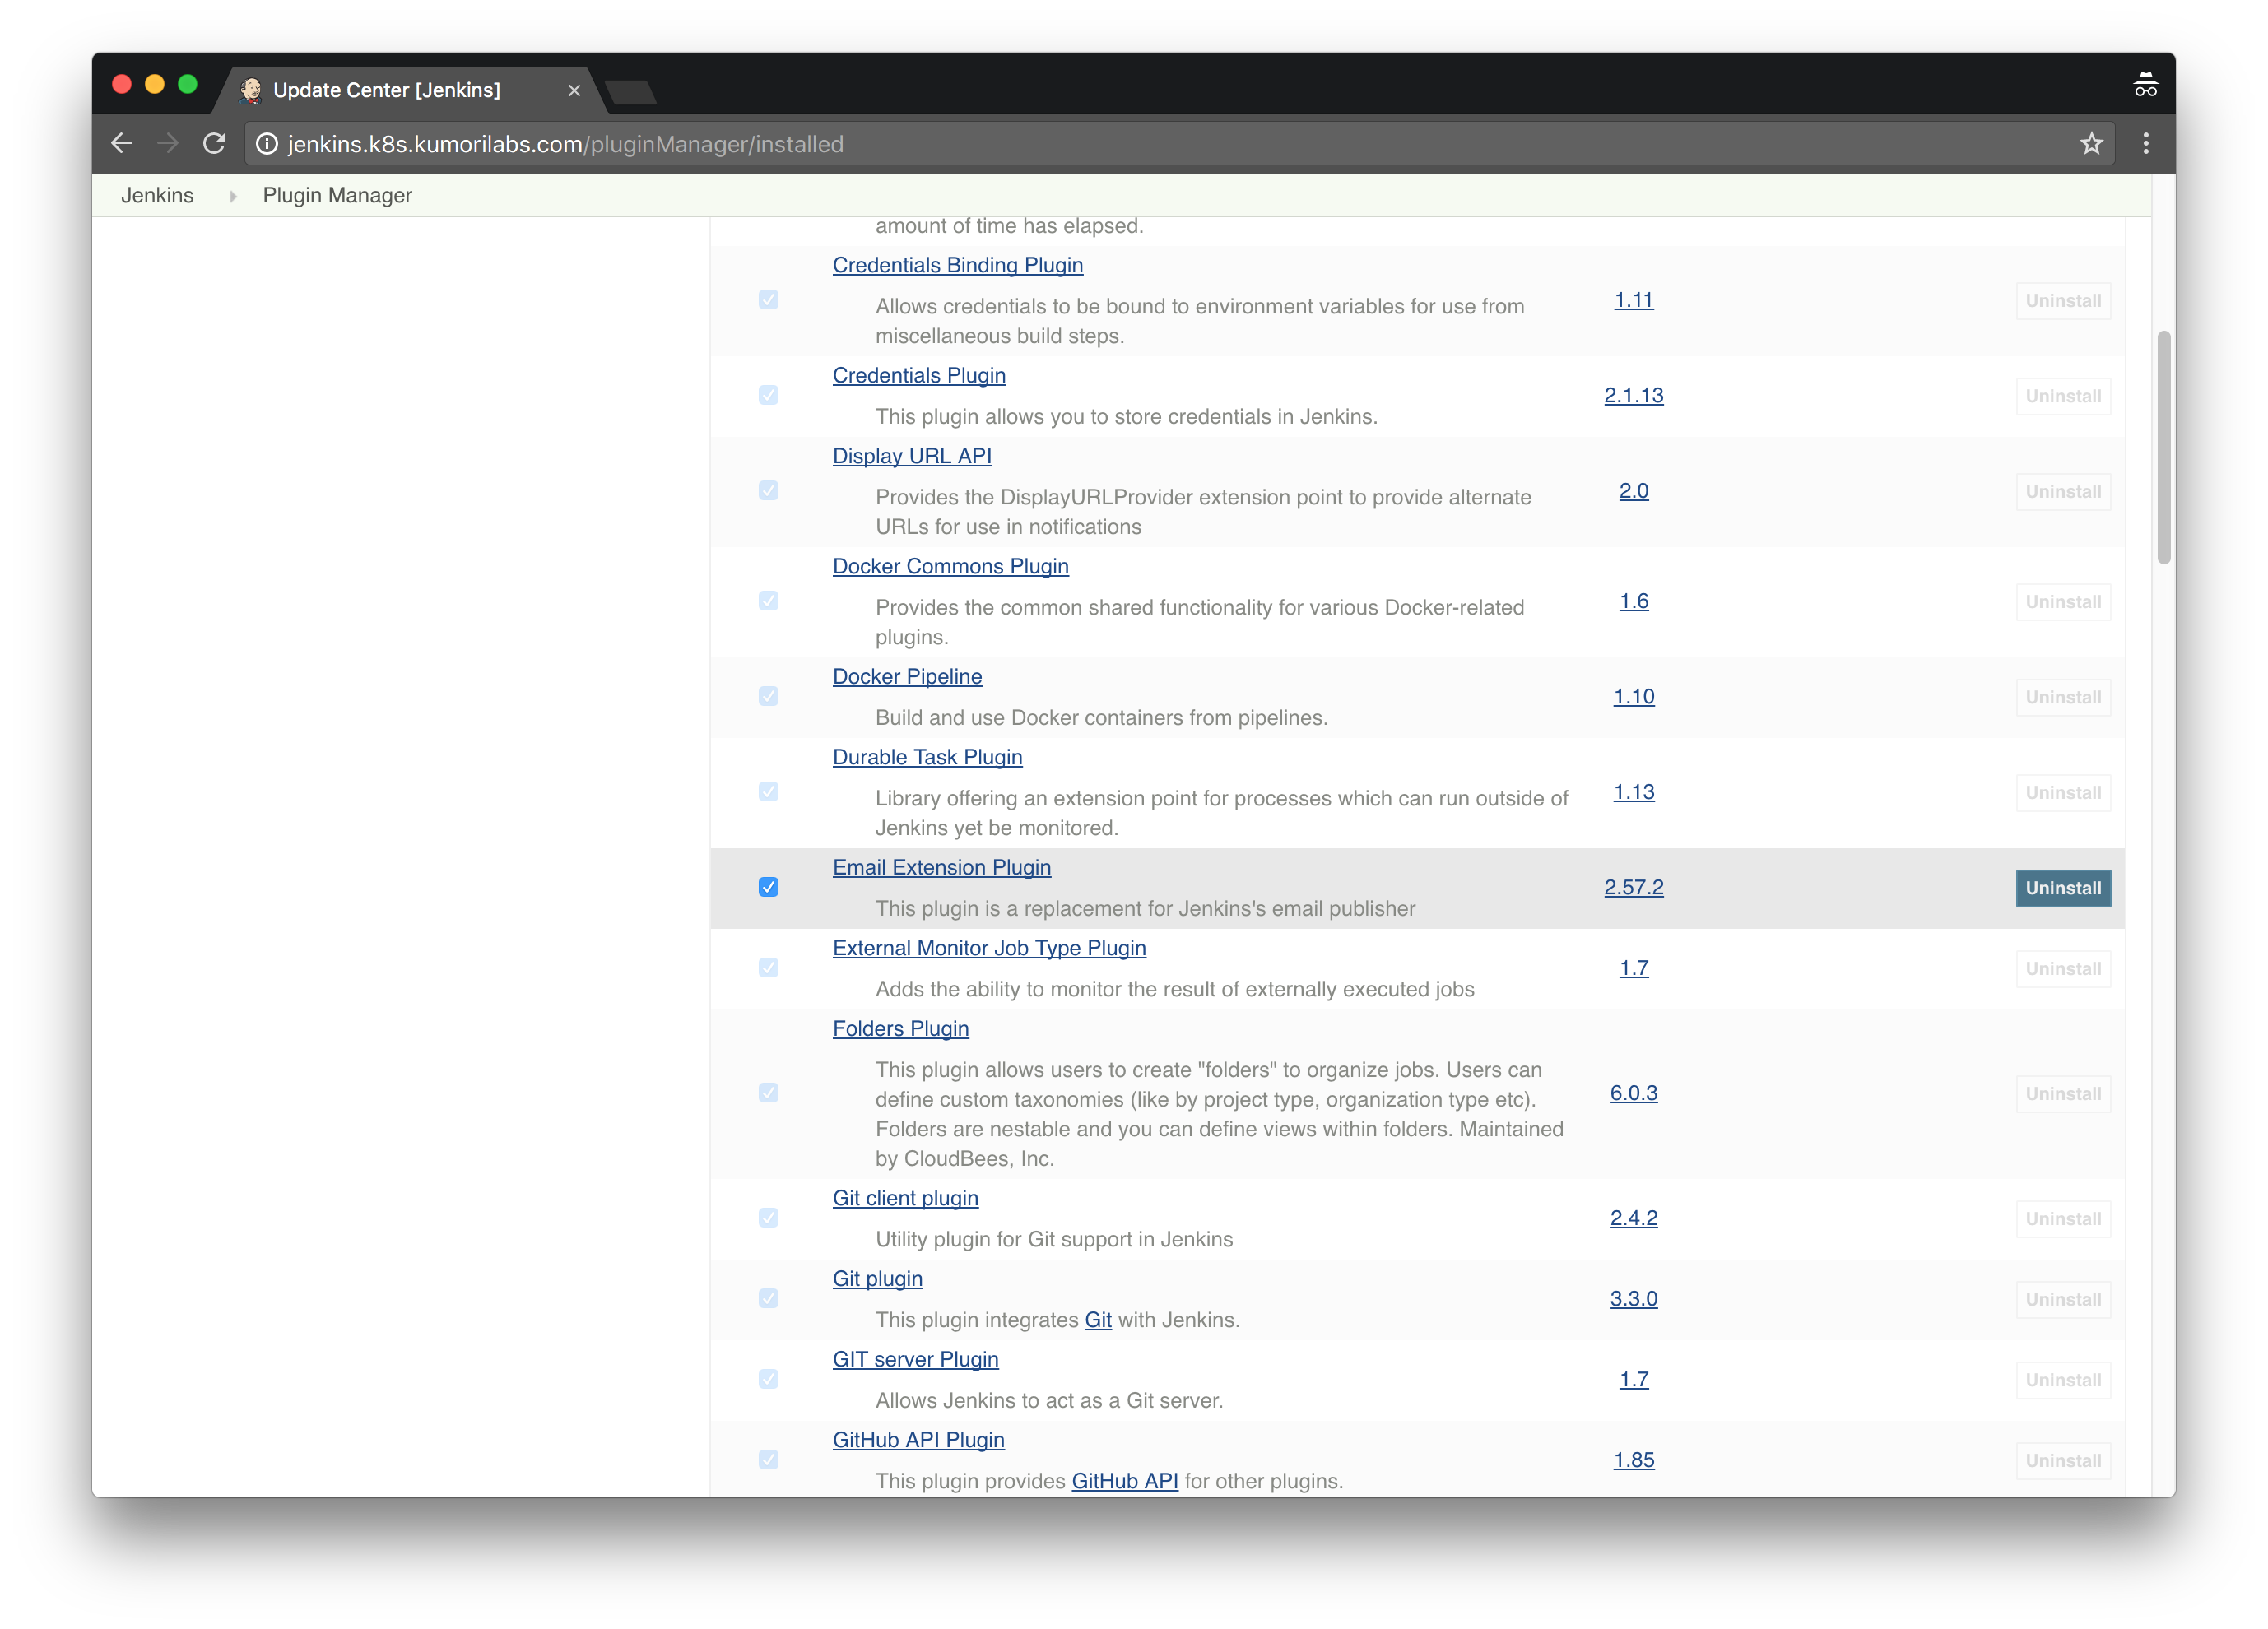
The Email Extension plugin was throwing an error when configuring the Kubernetes plugin. To fix this bug, it was required to disable the plugin:
Home Page >> Manage Jenkins >> Manage Plugins >> Click the Installed tab >> Filter for “mail” >> Uncheck the box Email Extension Plugin >> Click Restart Once No Jobs Are Running
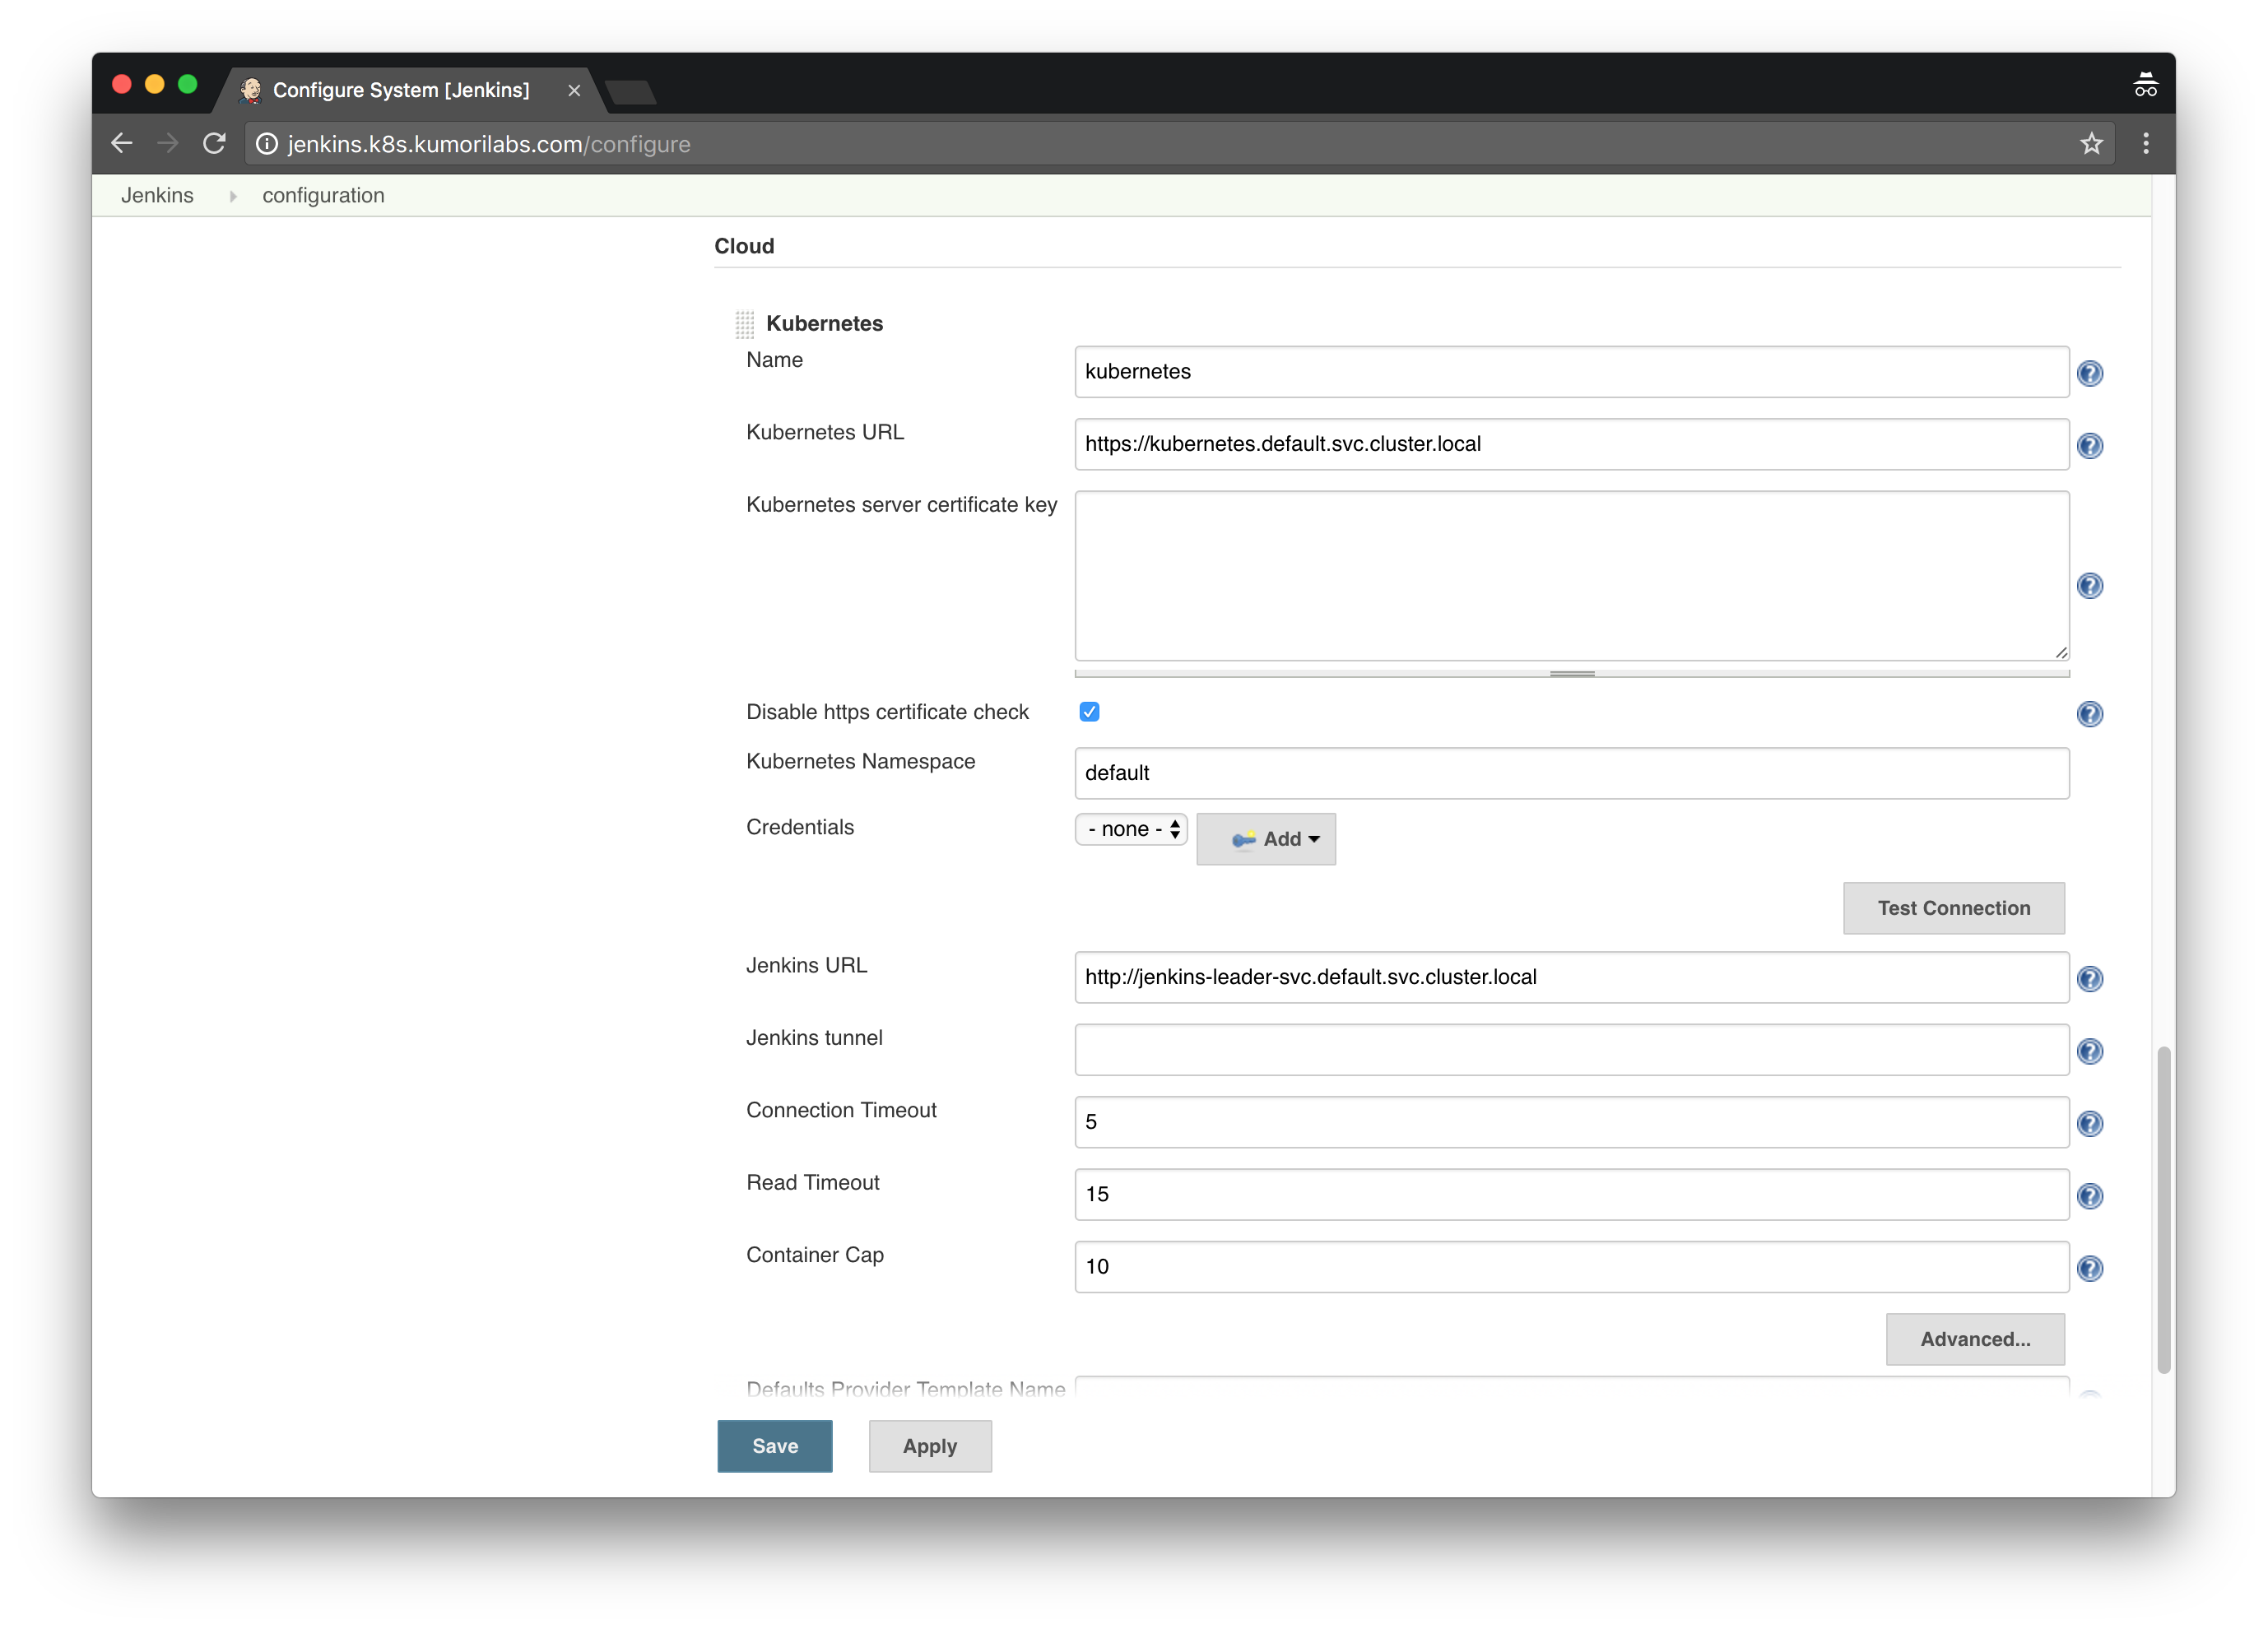
You are now ready to configure the Kubernetes plugin:
Home Page >> Manage Jenkins >> Configure System >> Configure the following:
- # of executors: 0
- Add a new cloud >> Kubernetes
- Name: kubernetes
- Kubernetes URL: https://kubernetes.default.svc.cluster.local
- Kubernetes Namespace: default
- Disable https certificate check: Yes
- Jenkins URL: http://jenkins-leader-svc.default.svc.cluster.local
Leave the rest as-is and click Save:
Create the test pipeline Jenkins job
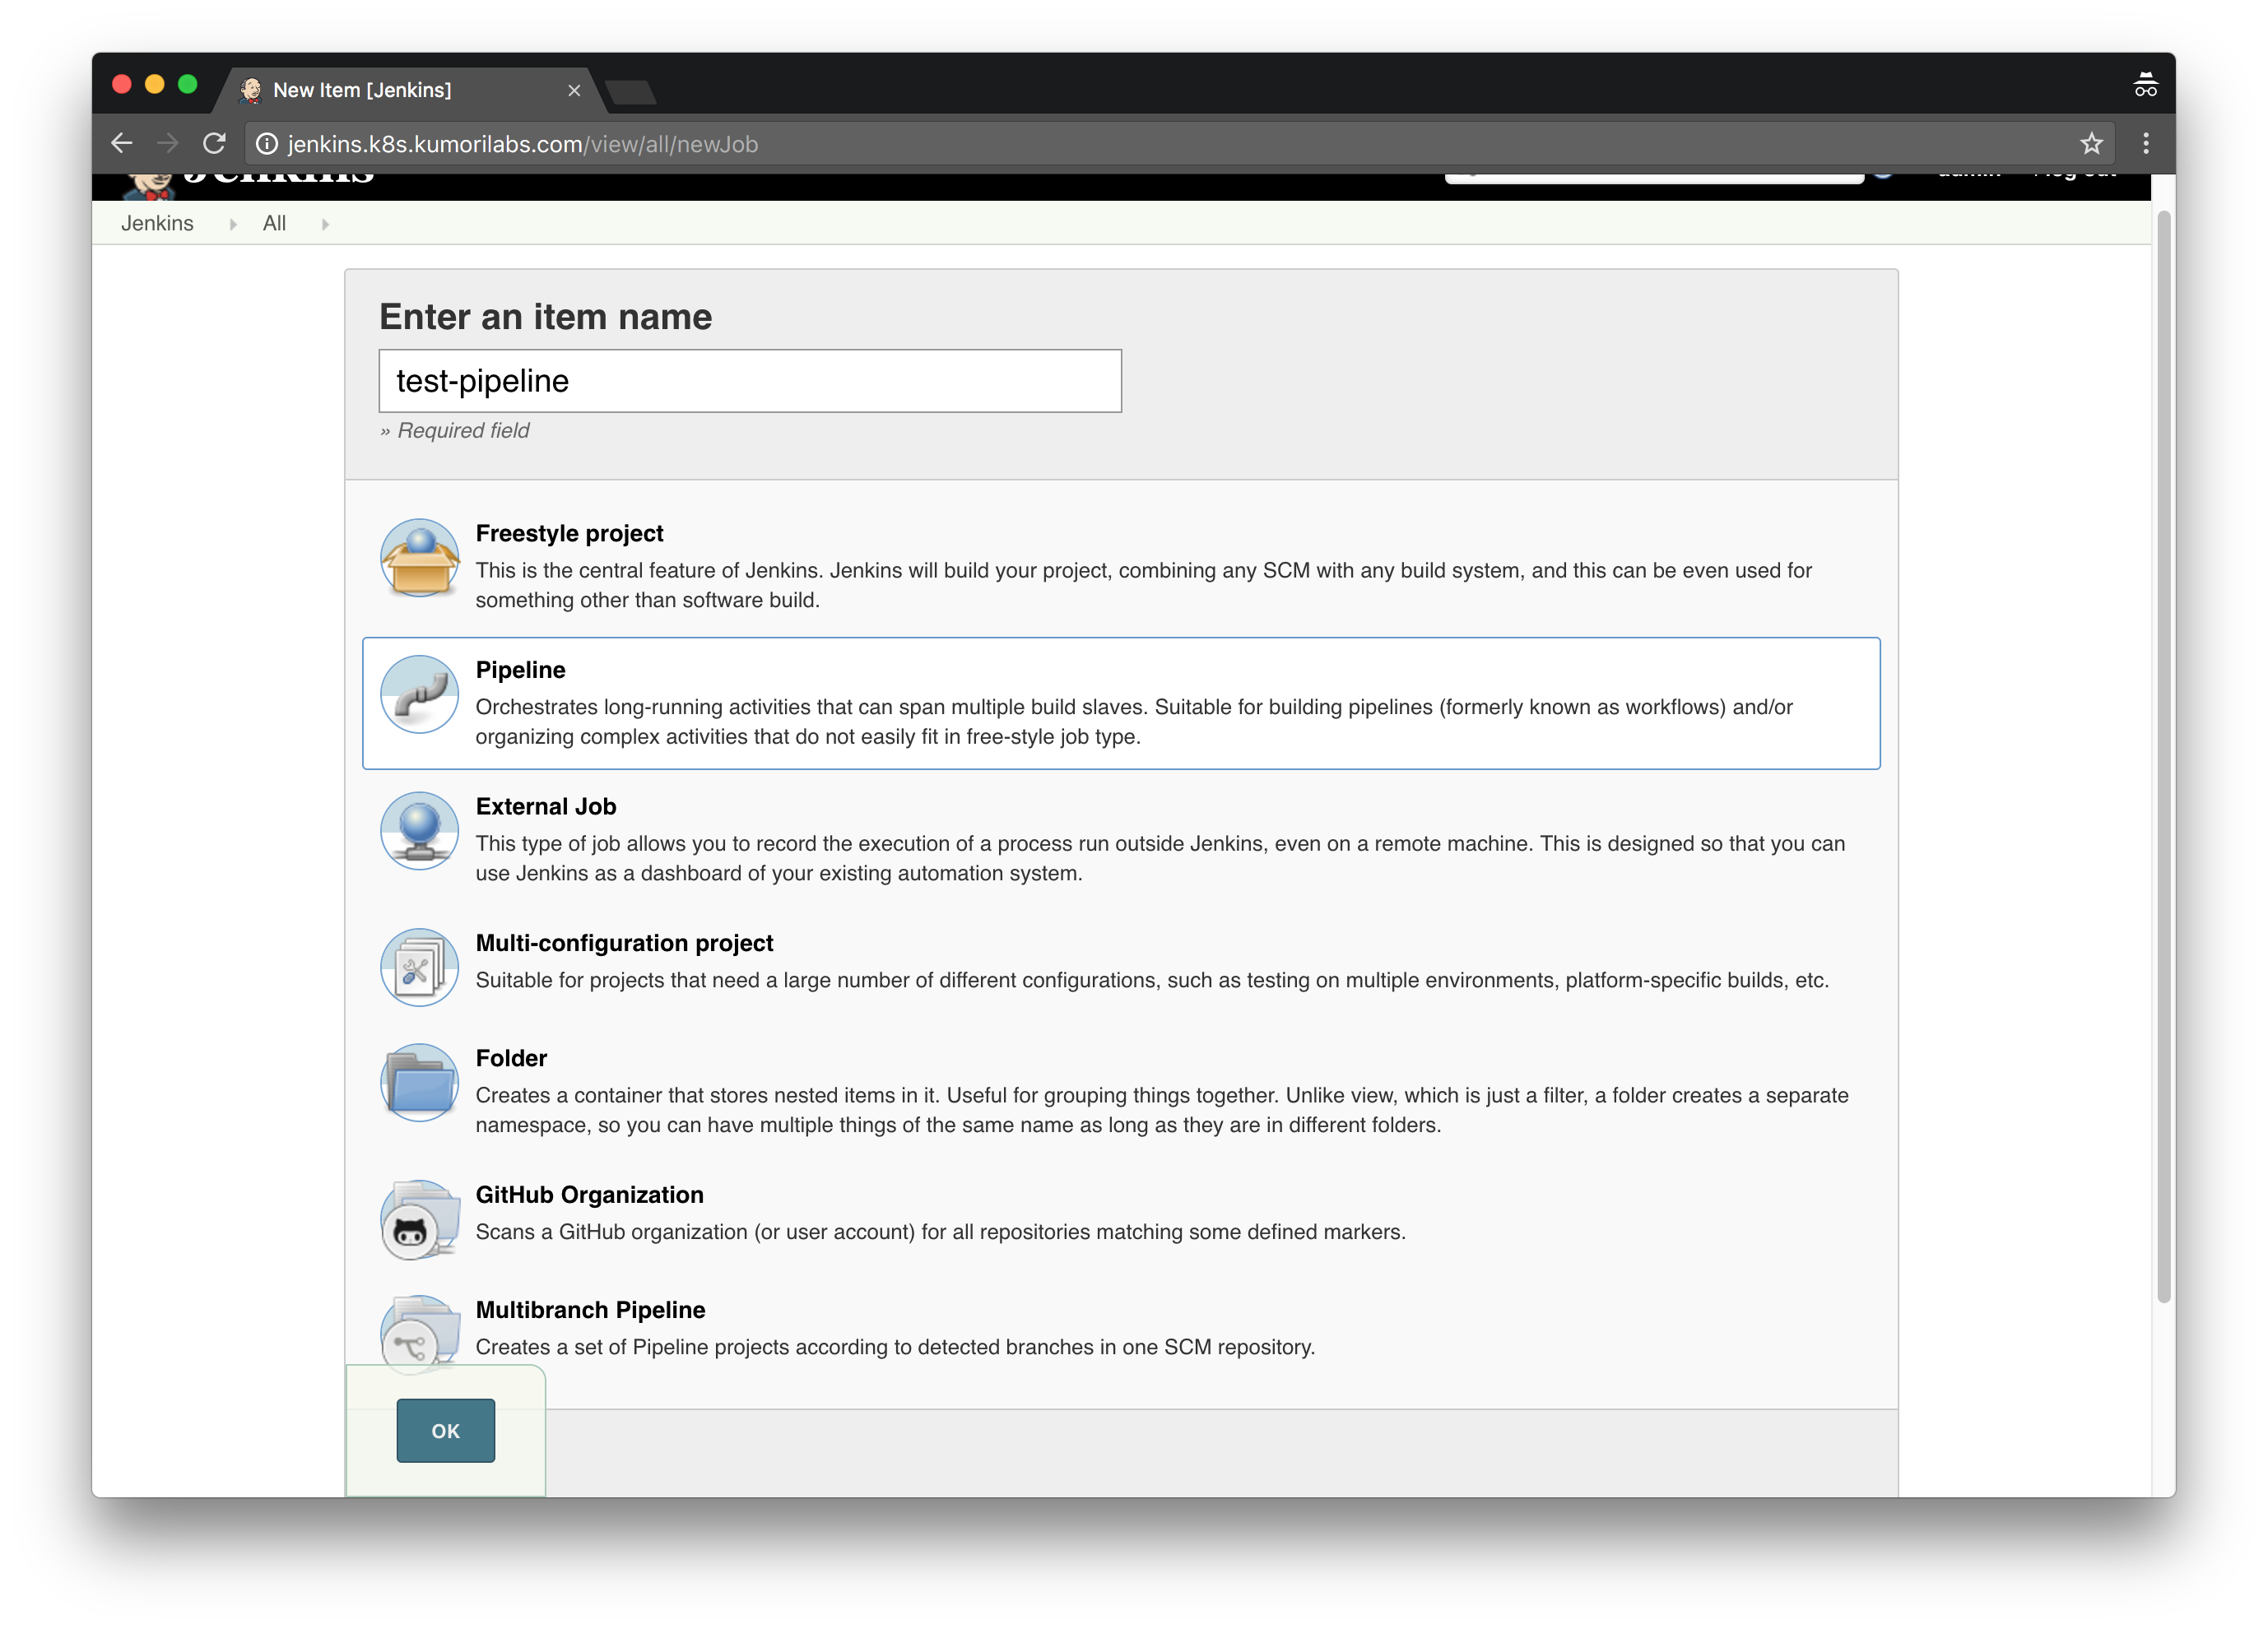
Now let’s create a test pipeline job to verify that the Kubernetes integration is working:
Home Page >> New Item >> Enter test-pipeline for Item name >> Click Pipeline >> Click Ok
Scroll down to the Pipeline area, paste in the script below and click Save:
podTemplate(label: 'pod-golang',
    containers: [
        containerTemplate(
            name: 'golang',
            image: 'golang',
            ttyEnabled: true,
            command: 'cat'
        )
    ]
) {
    node ('pod-golang') {

        stage 'Switch to Utility Container'
        container('golang') {

          sh ("go version")

        }
    }
}
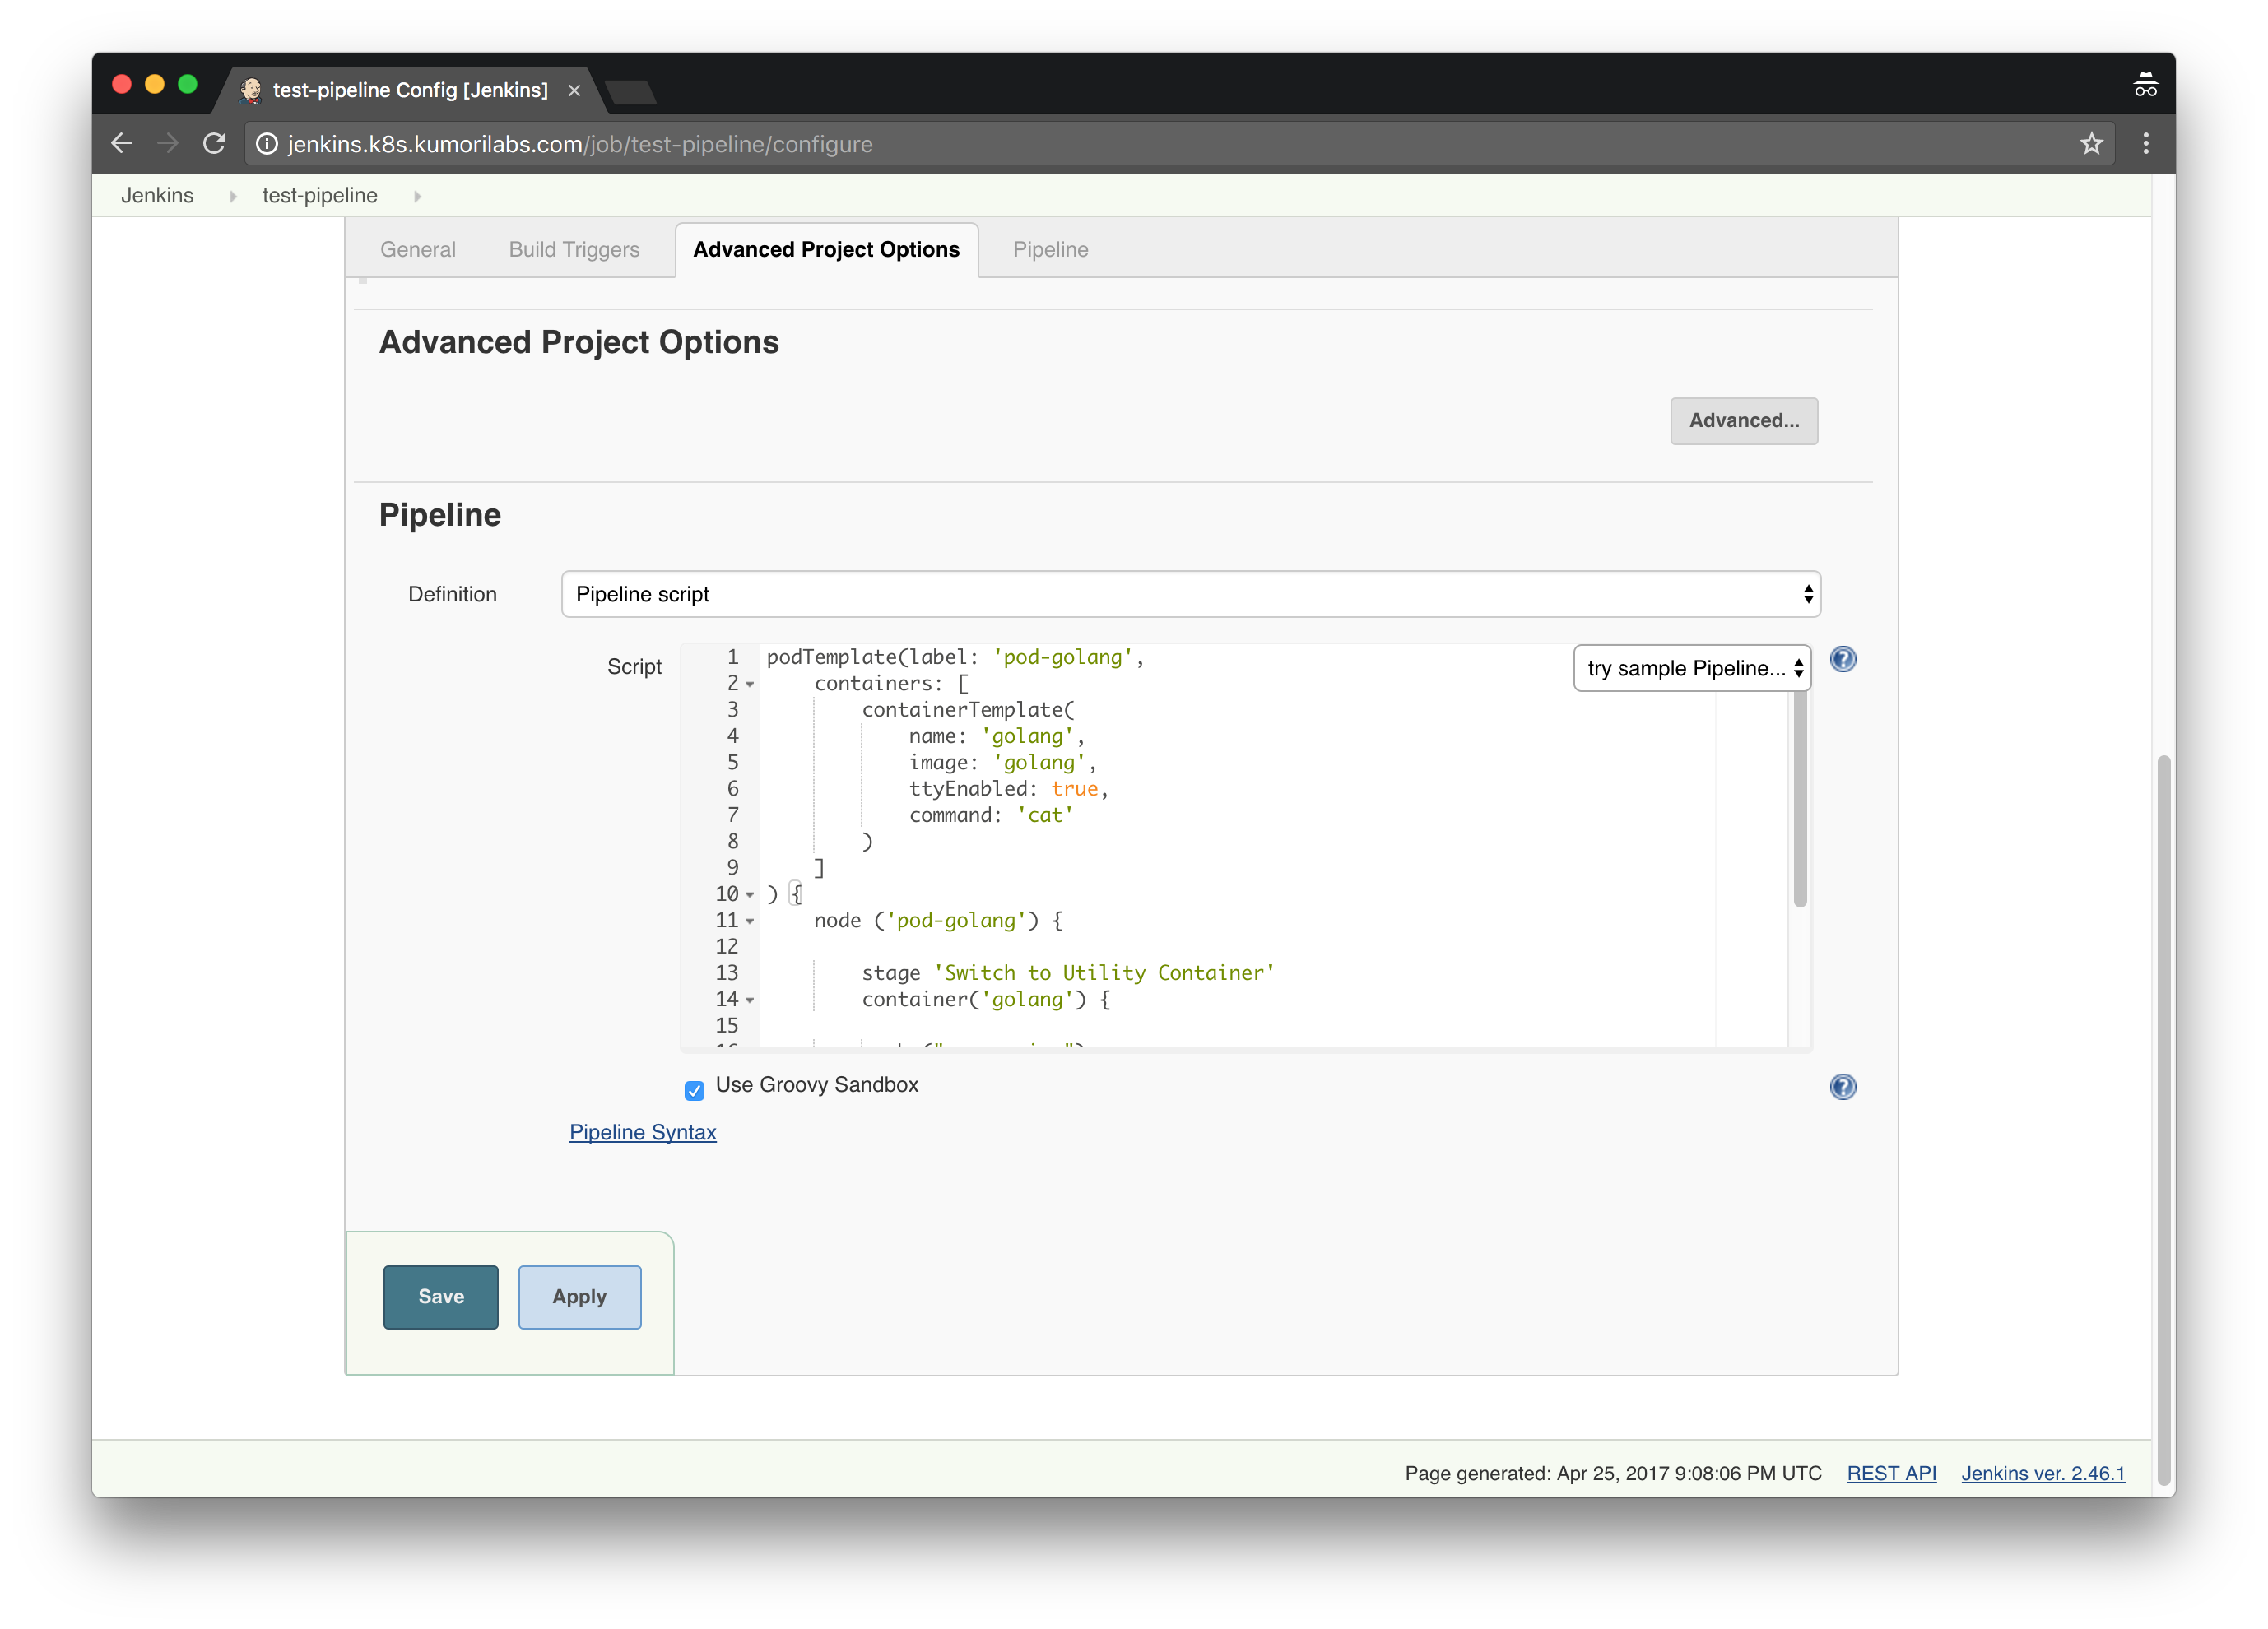
This script defines a Pod template named pod-golang with one container named golang, which is using the official golang Docker image. It will run the command go version within the container to confirm that Go is installed.
To run the job, click Build Now. And then in the Build History area, click on the arrow next to the build number and click Console Output:

You will see the job running in real-time, where the Kubernetes Pod is being created and the go version command is run within the Pod:
Started by user admin
...
...
Running on kubernetes-20c73e3b2b804664a9d47d78426e22d7-25bb125e333 in /home/jenkins/workspace/test-pipeline
...
...
# # + go version
go version go1.8.1 linux/amd64
...
...
Finished: SUCCESS
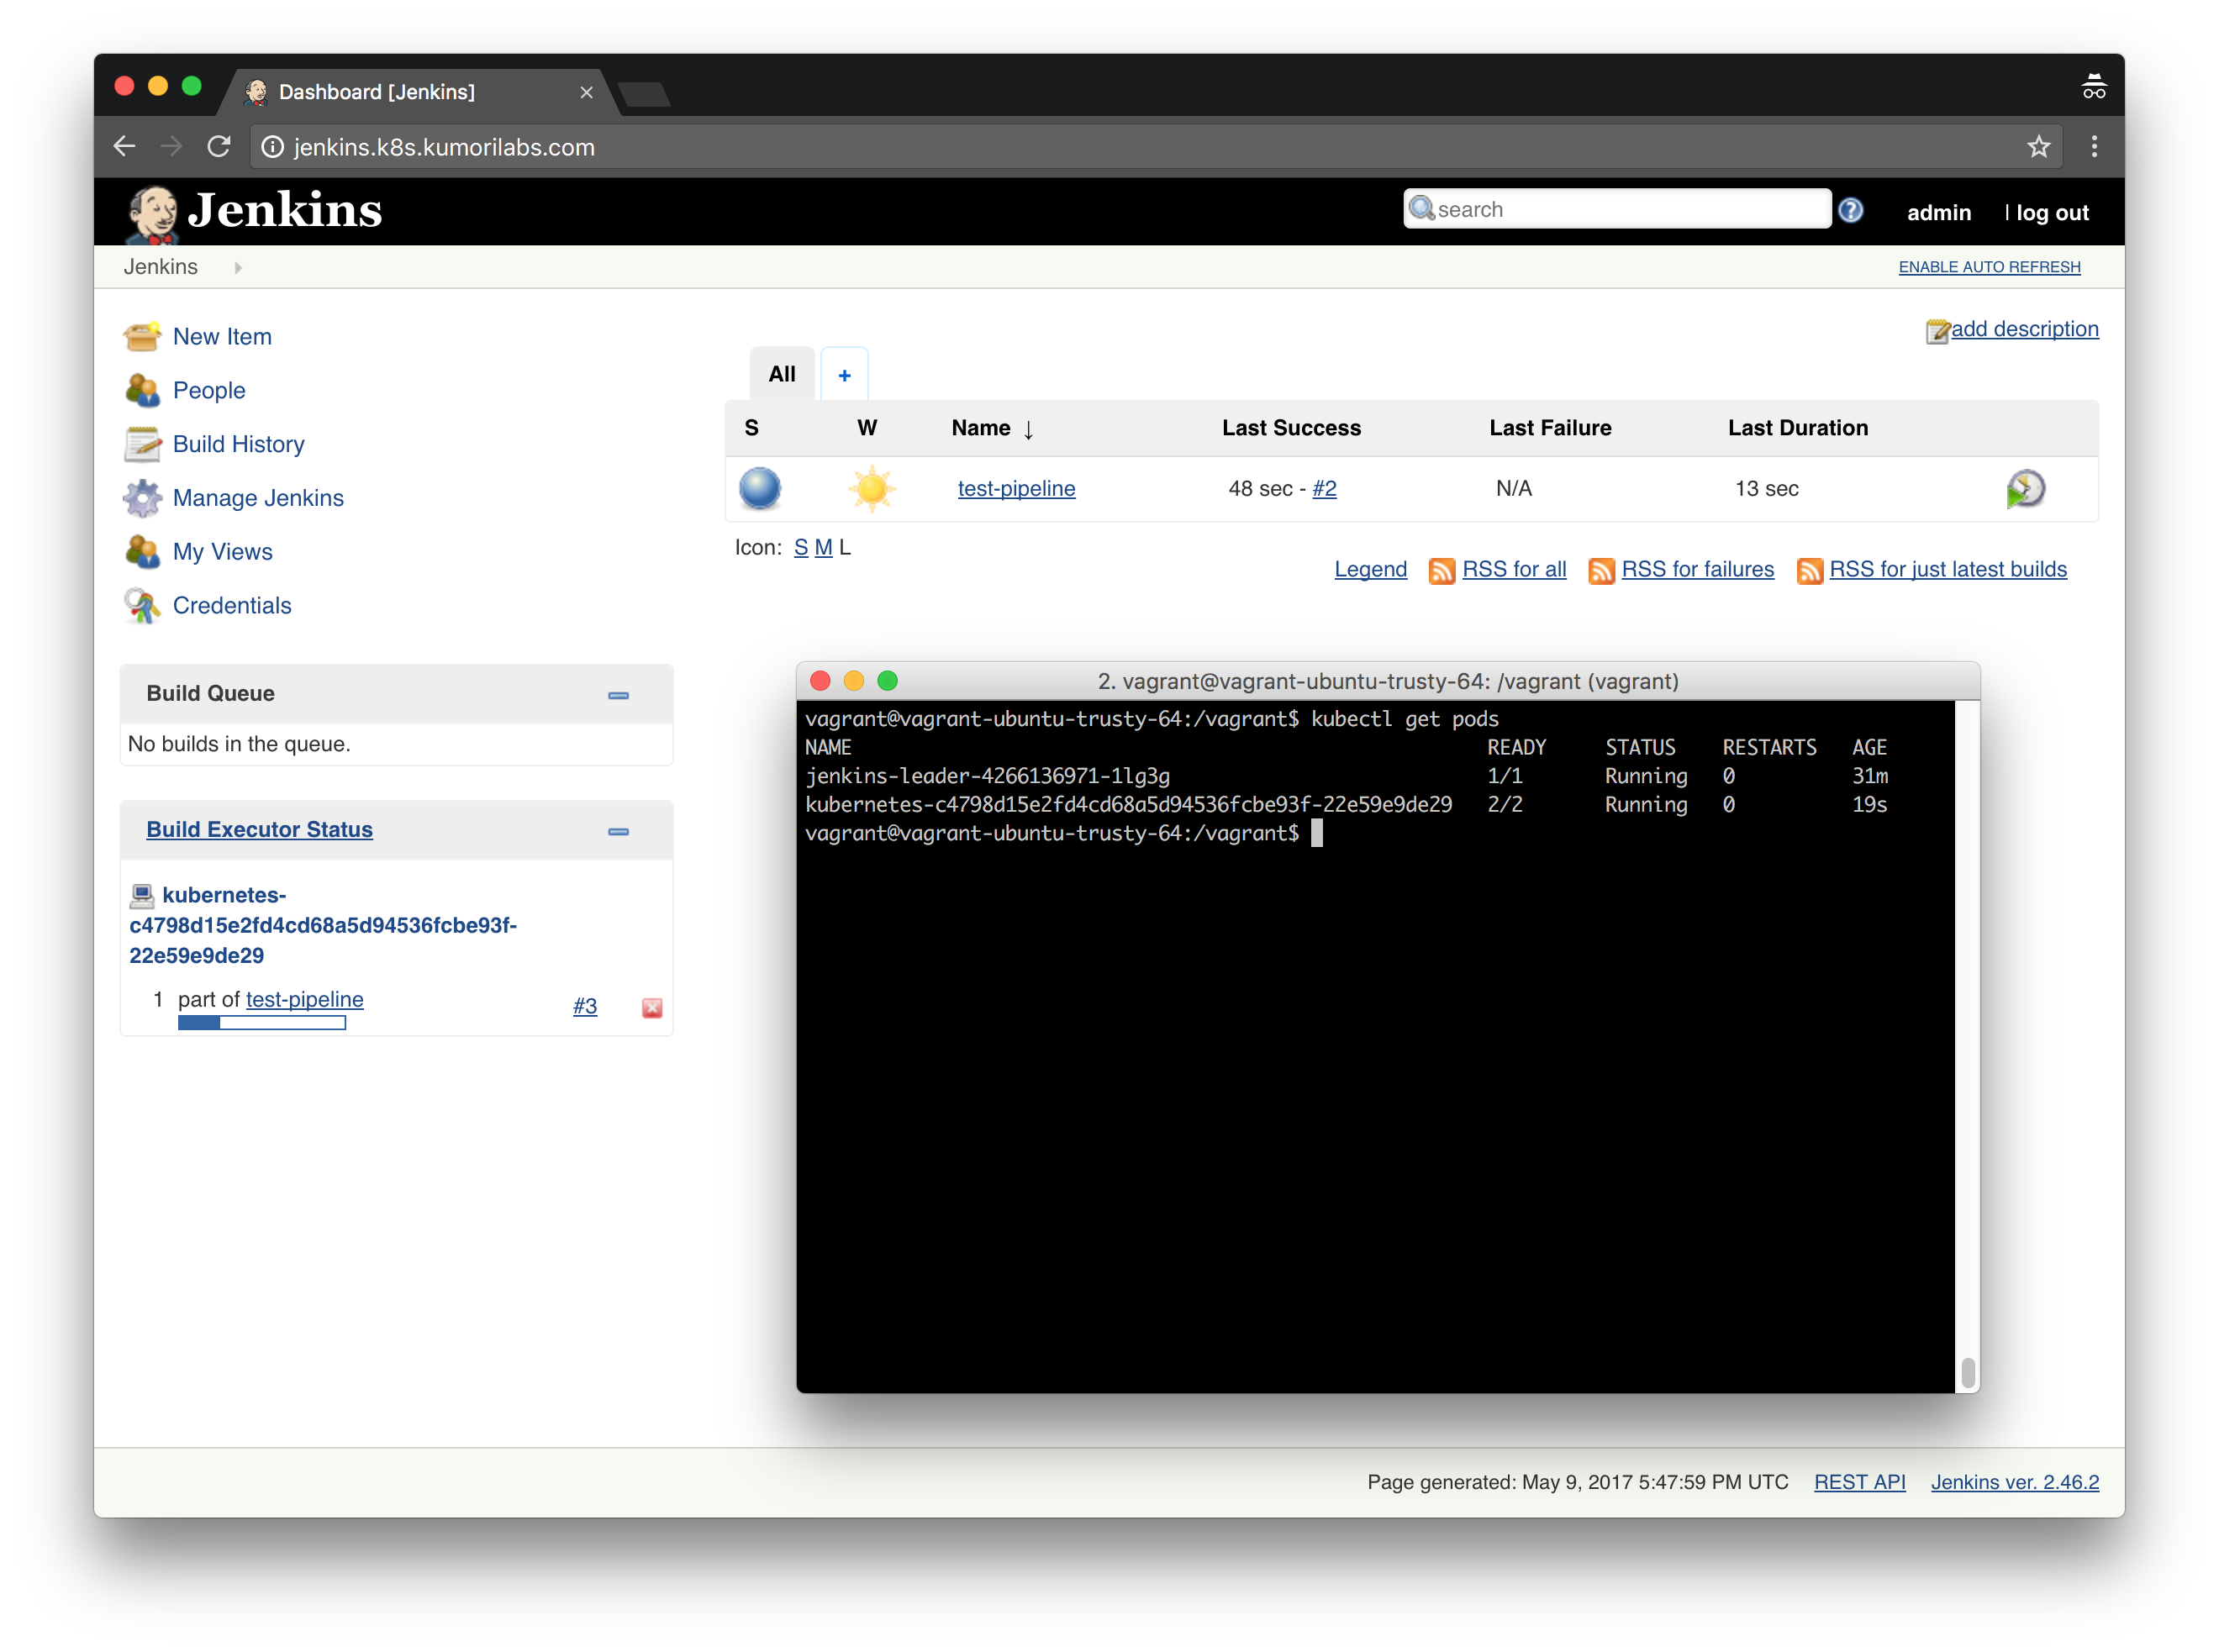
If you run the job again and then switch to your terminal, you should be able to see a Pod being created automatically in your cluster:
kubectl get pods
NAME                                                      READY     STATUS    RESTARTS   AGE
jenkins-leader-4266136971-fhrl1                           1/1       Running   0          40m
kubernetes-603e046074b54d80bc567831096831ea-2aada9c2f52   2/2       Running   0          3s
A more detailed example of a pipeline script will be demonstrated in the next post.
Create a custom Docker image for Jenkins
If you want to create a custom Docker image containing the configuration we have done so far, there are only a few configuration files that you need to extract from your running Jenkins deployment.
You will find the files that I used for my Jenkins Docker image in the docker/jenkins-kubernetes-leader/ directory of the repository. To replace the configuration files I used with your own, we will use the kubectl cp command to copy files from the running pod for Jenkins to your local host (kubectl cp can also be used to copy files from your local host to a running pod).
Remove existing configuration files:
rm -rf docker/jenkins-kubernetes-leader/config.xml \
       docker/jenkins-kubernetes-leader/plugins.txt
rm -rf docker/jenkins-kubernetes-leader/jobs \
       docker/jenkins-kubernetes-leader/secrets \
       docker/jenkins-kubernetes-leader/users
Extract config.xml configuration file:
# Set with the name of your running Jenkins Pod (kubectl get pods)
export JENKINS_POD="jenkins-leader-849027823-sk3md"

kubectl cp ${JENKINS_POD}:var/jenkins_home/config.xml \
        docker/jenkins-kubernetes-leader/config.xml
Extract users and jobs:
kubectl cp ${JENKINS_POD}:var/jenkins_home/users/ \
        docker/jenkins-kubernetes-leader/users/
kubectl cp ${JENKINS_POD}:var/jenkins_home/jobs/ \
        docker/jenkins-kubernetes-leader/jobs/
Extract secrets files:
kubectl cp ${JENKINS_POD}:var/jenkins_home/secrets/master.key \
        docker/jenkins-kubernetes-leader/secrets/master.key
kubectl cp ${JENKINS_POD}:var/jenkins_home/secrets/hudson.util.Secret \
        docker/jenkins-kubernetes-leader/secrets/hudson.util.Secret
kubectl cp ${JENKINS_POD}:var/jenkins_home/secrets/slave-to-master-security-kill-switch \
        docker/jenkins-kubernetes-leader/secrets/slave-to-master-security-kill-switch
Extract installed plugins list:
# Set your Jenkins username and password
export JENKINS_USERNAME="admin"
export JENKINS_PASSWORD="jenkins"

# Leave as-is
export JENKINS_HOST="${JENKINS_USERNAME}:${JENKINS_PASSWORD}@jenkins.${DOMAIN_NAME}"

curl -sSL "http://$JENKINS_HOST/pluginManager/api/xml?depth=1&xpath=/*/*/shortName|/*/*/version&wrapper=plugins" | \
     perl -pe 's/.*?<shortName>([\w-]+).*?<version>([^<]+)()(<\/\w+>)+/\1 \2\n/g'|sed 's/ /:/' > \
     docker/jenkins-kubernetes-leader/plugins.txt
You are now ready to create the customized Docker image.
Login to the Docker Hub (you will be prompted for your Docker Hub password):
# Set your Docker Hub username
export DOCKER_HUB_USERNAME="smesch"

docker login -u ${DOCKER_HUB_USERNAME}
Update FROM with the base Jenkins image you want to use and MAINTAINER with your name & email address in the docker/jenkins-kubernetes-leader/Dockerfile file:
vi docker/jenkins-kubernetes-leader/Dockerfile
FROM jenkins:2.46.2
MAINTAINER Steven Eschinger <steven@kumorilabs.com>

USER root
RUN apt-get update
USER ${user}

COPY config.xml /usr/share/jenkins/ref/config.xml
COPY executors.groovy /usr/share/jenkins/ref/init.groovy.d/executors.groovy
COPY jobs /usr/share/jenkins/ref/jobs
COPY secrets /usr/share/jenkins/ref/secrets
COPY users /usr/share/jenkins/ref/users
COPY plugins.txt /usr/share/jenkins/plugins.txt
RUN /usr/local/bin/plugins.sh /usr/share/jenkins/plugins.txt
RUN echo 2.0 > /usr/share/jenkins/ref/jenkins.install.UpgradeWizard.state

ENTRYPOINT ["/bin/tini", "--", "/usr/local/bin/jenkins.sh"]
Build and then push the Docker image to your Docker Hub account:
# Set the name and version you want to use for your custom Docker image
export JENKINS_IMAGE_NAME="jenkins-kubernetes-leader"
export JENKINS_APP_TAG="2.46.2"

docker build -t ${DOCKER_HUB_USERNAME}/${JENKINS_IMAGE_NAME}:${JENKINS_APP_TAG} --rm docker/jenkins-kubernetes-leader/
docker push ${DOCKER_HUB_USERNAME}/${JENKINS_IMAGE_NAME}:${JENKINS_APP_TAG}
You can now use this Docker image in the future.
Cleanup
Before proceeding to the next lab, delete the cluster and it’s associated S3 bucket:
Delete the cluster
Delete the cluster:
kops delete cluster ${CLUSTER_FULL_NAME} --yes
Delete the S3 bucket in AWS:
aws s3api delete-bucket --bucket ${CLUSTER_FULL_NAME}-state
In addition to the step-by-step instructions provided for each lab, the repository also contains scripts to automate some of the activities being performed in this blog series. See the Using Scripts guide for more details.
Next Up
In the next lab, Lab #7: Continuous Deployment with Jenkins and Kubernetes, we will go through the following:
- Creating a continuous deployment pipeline in Jenkins for the Hugo site
- Testing the pipeline in Jenkins
Other Labs in the Series
- Introduction: A Blog Series About All Things Kubernetes
- Lab #1: Deploy a Kubernetes Cluster in AWS with Kops
- Lab #2: Maintaining your Kubernetes Cluster
- Lab #3: Creating Deployments & Services in Kubernetes
- Lab #4: Kubernetes Deployment Strategies: Rolling Updates, Canary & Blue-Green
- Lab #5: Setup Horizontal Pod & Cluster Autoscaling in Kubernetes
- Lab #7: Continuous Deployment with Jenkins and Kubernetes
- Lab #8: Continuous Deployment with Travis CI and Kubernetes
- Lab #9: Continuous Deployment with Wercker and Kubernetes
- Lab #10: Setup Kubernetes Federation Between Clusters in Different AWS Regions