By Steven Eschinger | January 25, 2017
This post was updated on September 18th, 2017 for Kubernetes version 1.7.6 & Kops version 1.7.0
Introduction
In the previous lab, we showed you how to deploy a cluster in AWS using Kops.
In this lab, we will go through some common maintenance tasks for your cluster.
We will start out by deploying a cluster with an older version of Kubernetes (1.6.4) and we will then perform a rolling update with Kops to upgrade the cluster to version 1.7.6. A rolling update for a cluster is the process of updating one host at a time and moving onto the next host only when the previous host has been updated successfully. Pods that are running on a node which is about to be updated are seamlessly moved to another healthy node before the update starts.
You will then see how to increase or decrease the amount of nodes in an existing cluster and how to prepare an existing node for maintenance by temporarily reliving it of it’s cluster duties.
Finally, we will deploy the Kubernetes dashboard add-on to your cluster, which is a web-based UI that allows you to view the status of your cluster & applications and perform basic management tasks.
Activities
- Deploy a new cluster with Kubernetes version 1.6.4
- Perform a rolling update to upgrade the cluster to version 1.7.6
- Increase the number of nodes in the cluster
- Prepare a node for maintenance
- Deploy the Kubernetes dashboard
- Delete the cluster
Warning: Some of the AWS resources that will be created in the following lab are not eligible for the AWS Free Tier and therefore will cost you money. For example, running a three node cluster with the suggested instance size of t2.medium will cost you around $0.20 per hour based on current pricing.
Prerequisites
Review the Getting Started section in the introductory post of this blog series
Log into the Vagrant box or your prepared local host environment
Update and then load the required environment variables:
# Must change: Your domain name that is hosted in AWS Route 53
export DOMAIN_NAME="k8s.kumorilabs.com"

# Friendly name to use as an alias for your cluster
export CLUSTER_ALIAS="usa"

# Leave as-is: Full DNS name of you cluster
export CLUSTER_FULL_NAME="${CLUSTER_ALIAS}.${DOMAIN_NAME}"

# AWS availability zone where the cluster will be created
export CLUSTER_AWS_AZ="us-east-1a"
Implementation
Deploy a new cluster with Kubernetes version 1.6.4
Create the S3 bucket in AWS, which will be used by Kops for cluster configuration storage:
aws s3api create-bucket --bucket ${CLUSTER_FULL_NAME}-state
Set the KOPS_STATE_STORE variable to the URL of the S3 bucket that was just created:
export KOPS_STATE_STORE="s3://${CLUSTER_FULL_NAME}-state"
Create the cluster configuration with Kops, specifying 1.6.4 for --kubernetes-version=. The --yes flag at the end will tell Kops to create the cluster immediately (without having to execute the kops update command):
kops create cluster \
--name=${CLUSTER_FULL_NAME} \
--zones=${CLUSTER_AWS_AZ} \
--master-size="t2.medium" \
--node-size="t2.medium" \
--node-count="2" \
--dns-zone=${DOMAIN_NAME} \
--ssh-public-key="~/.ssh/id_rsa.pub" \
--kubernetes-version="1.6.4" --yes
It will take approximately five minutes for the cluster to be ready. To check if the cluster is ready and to verify that it is running version 1.6.4:
kubectl get nodes
NAME                            STATUS    AGE       VERSION
ip-172-20-55-227.ec2.internal   Ready     6m        v1.6.4
ip-172-20-57-134.ec2.internal   Ready     6m        v1.6.4
ip-172-20-58-16.ec2.internal    Ready     7m        v1.6.4
Perform a rolling update to upgrade the cluster to version 1.7.6
Now that the cluster is ready, we will edit the cluster configuration:
kops edit cluster ${CLUSTER_FULL_NAME}
This will bring up a text editor with the cluster configuration. Change the value for kubernetesVersion: from 1.6.4 to 1.7.6:
kubernetesVersion: 1.7.6
Save the file and then update the cluster configuration:
kops update cluster ${CLUSTER_FULL_NAME} --yes
Kick-off the rolling update of the cluster to version 1.7.6, which starts with the master, followed by the two nodes:
kops rolling-update cluster ${CLUSTER_FULL_NAME} --yes
NAME			STATUS		NEEDUPDATE	READY	MIN	MAX	NODES
master-us-east-1a	NeedsUpdate	1		0	1	1	1
nodes			NeedsUpdate	2		0	2	2	2
I0918 17:56:36.589202    6472 instancegroups.go:350] Stopping instance "i-0f6da4bcfb8227e6f", node "ip-172-20-58-16.ec2.internal", in AWS ASG "master-us-east-1a.masters.usa.k8s.kumorilabs.com".
I0918 18:01:36.880240    6472 instancegroups.go:350] Stopping instance "i-000f039bb4ee8e7f3", node "ip-172-20-55-227.ec2.internal", in AWS ASG "nodes.usa.k8s.kumorilabs.com".
I0918 18:03:37.117888    6472 instancegroups.go:350] Stopping instance "i-0d0f594afee0cdbfe", node "ip-172-20-57-134.ec2.internal", in AWS ASG "nodes.usa.k8s.kumorilabs.com".
I0918 18:05:37.336335    6472 rollingupdate.go:174] Rolling update completed!
To verify that the cluster is now running version 1.7.6:
kubectl get nodes
NAME                            STATUS    AGE       VERSION
ip-172-20-40-206.ec2.internal   Ready     6m        v1.7.6
ip-172-20-41-160.ec2.internal   Ready     3m        v1.7.6
ip-172-20-52-32.ec2.internal    Ready     25s       v1.7.6
Increase the number of nodes in the cluster
Edit the configuration of the nodes instance group:
kops edit ig nodes
This will bring up a text editor with the instance group configuration for the nodes:
apiVersion: kops/v1alpha2
kind: InstanceGroup
metadata:
  creationTimestamp: 2017-09-18T17:44:35Z
  labels:
    kops.k8s.io/cluster: usa.k8s.kumorilabs.com
  name: nodes
spec:
  image: kope.io/k8s-1.6-debian-jessie-amd64-hvm-ebs-2017-07-28
  machineType: t2.medium
> maxSize: 2
> minSize: 2
  role: Node
  subnets:
  - us-east-1a
Change the values for maxSize: & minSize: from 2 to 4:
maxSize: 4
minSize: 4
Save the file and then update the cluster configuration:
kops update cluster ${CLUSTER_FULL_NAME} --yes
This will update auto-scaling group in AWS and within a few minutes, the two additional nodes should be ready:
kubectl get nodes
NAME                            STATUS    AGE       VERSION
ip-172-20-34-35.ec2.internal    Ready     4m        v1.7.6
ip-172-20-40-206.ec2.internal   Ready     14m       v1.7.6
ip-172-20-41-160.ec2.internal   Ready     11m       v1.7.6
ip-172-20-52-32.ec2.internal    Ready     8m        v1.7.6
ip-172-20-62-41.ec2.internal    Ready     3m        v1.7.6
Prepare a node for maintenance
If you need to perform maintenance on a node, such as a kernel update, you can temporarily relive the node of it’s cluster duties while you conduct the maintenance.
To demonstrate this, we will first create an example Deployment with eight Pods, which should get spread out evenly across the four nodes that are currently running in your cluster:
kubectl run test-deployment --image=nginx --replicas=8
deployment "test-deployment" created
To verify that the Deployment was distributed across the four nodes:
kubectl get pods -o wide
NAME                               READY     STATUS    RESTARTS   AGE       IP           NODE
test-deployment-1791490673-1h5d8   1/1       Running   0          12s       100.96.4.5   ip-172-20-41-160.ec2.internal
test-deployment-1791490673-3zh2x   1/1       Running   0          12s       100.96.6.3   ip-172-20-34-35.ec2.internal
test-deployment-1791490673-99wxl   1/1       Running   0          12s       100.96.5.3   ip-172-20-52-32.ec2.internal
test-deployment-1791490673-dkr9c   1/1       Running   0          12s       100.96.5.2   ip-172-20-52-32.ec2.internal
test-deployment-1791490673-g02h7   1/1       Running   0          12s       100.96.4.6   ip-172-20-41-160.ec2.internal
test-deployment-1791490673-llhsg   1/1       Running   0          12s       100.96.7.3   ip-172-20-62-41.ec2.internal
test-deployment-1791490673-rtd3r   1/1       Running   0          12s       100.96.6.2   ip-172-20-34-35.ec2.internal
test-deployment-1791490673-xvgzq   1/1       Running   0          12s       100.96.7.2   ip-172-20-62-41.ec2.internal
We will now drain two of the nodes, which will gracefully terminate the Pods that were running on them and block any new Pods from starting on them:
kubectl drain ip-172-20-41-160.ec2.internal --force
node "ip-172-20-41-160.ec2.internal" cordoned
WARNING: Deleting pods not managed by ReplicationController, ReplicaSet, Job, DaemonSet or StatefulSet: kube-proxy-ip-172-20-41-160.ec2.internal
pod "kube-dns-autoscaler-4184363331-208h4" evicted
pod "test-deployment-1791490673-g02h7" evicted
pod "test-deployment-1791490673-1h5d8" evicted
pod "kube-dns-4098025757-gh0kc" evicted
pod "kube-dns-4098025757-p86j7" evicted
node "ip-172-20-41-160.ec2.internal" drained
kubectl drain ip-172-20-34-35.ec2.internal --force
node "ip-172-20-34-35.ec2.internal" cordoned
WARNING: Deleting pods not managed by ReplicationController, ReplicaSet, Job, DaemonSet or StatefulSet: kube-proxy-ip-172-20-34-35.ec2.internal
pod "test-deployment-1791490673-3zh2x" evicted
pod "test-deployment-1791490673-rtd3r" evicted
pod "kube-dns-4098025757-qr7kw" evicted
pod "kube-dns-4098025757-k4sf3" evicted
node "ip-172-20-34-35.ec2.internal" drained
To verify that the four Pods that were running on the two nodes we just drained have been moved to the two remaining nodes:
kubectl get pods -o wide
NAME                               READY     STATUS    RESTARTS   AGE       IP           NODE
test-deployment-1791490673-0jgjs   1/1       Running   0          1m        100.96.5.5   ip-172-20-52-32.ec2.internal
test-deployment-1791490673-99wxl   1/1       Running   0          5m        100.96.5.3   ip-172-20-52-32.ec2.internal
test-deployment-1791490673-bnpj4   1/1       Running   0          4m        100.96.5.4   ip-172-20-52-32.ec2.internal
test-deployment-1791490673-dkr9c   1/1       Running   0          5m        100.96.5.2   ip-172-20-52-32.ec2.internal
test-deployment-1791490673-llhsg   1/1       Running   0          5m        100.96.7.3   ip-172-20-62-41.ec2.internal
test-deployment-1791490673-p6tzs   1/1       Running   0          4m        100.96.7.5   ip-172-20-62-41.ec2.internal
test-deployment-1791490673-v4clq   1/1       Running   0          1m        100.96.7.7   ip-172-20-62-41.ec2.internal
test-deployment-1791490673-xvgzq   1/1       Running   0          5m        100.96.7.2   ip-172-20-62-41.ec2.internal
Once the maintenance has been completed, you can make a node schedulable again:
kubectl uncordon ip-172-20-34-35.ec2.internal
node "ip-172-20-34-35.ec2.internal" uncordoned
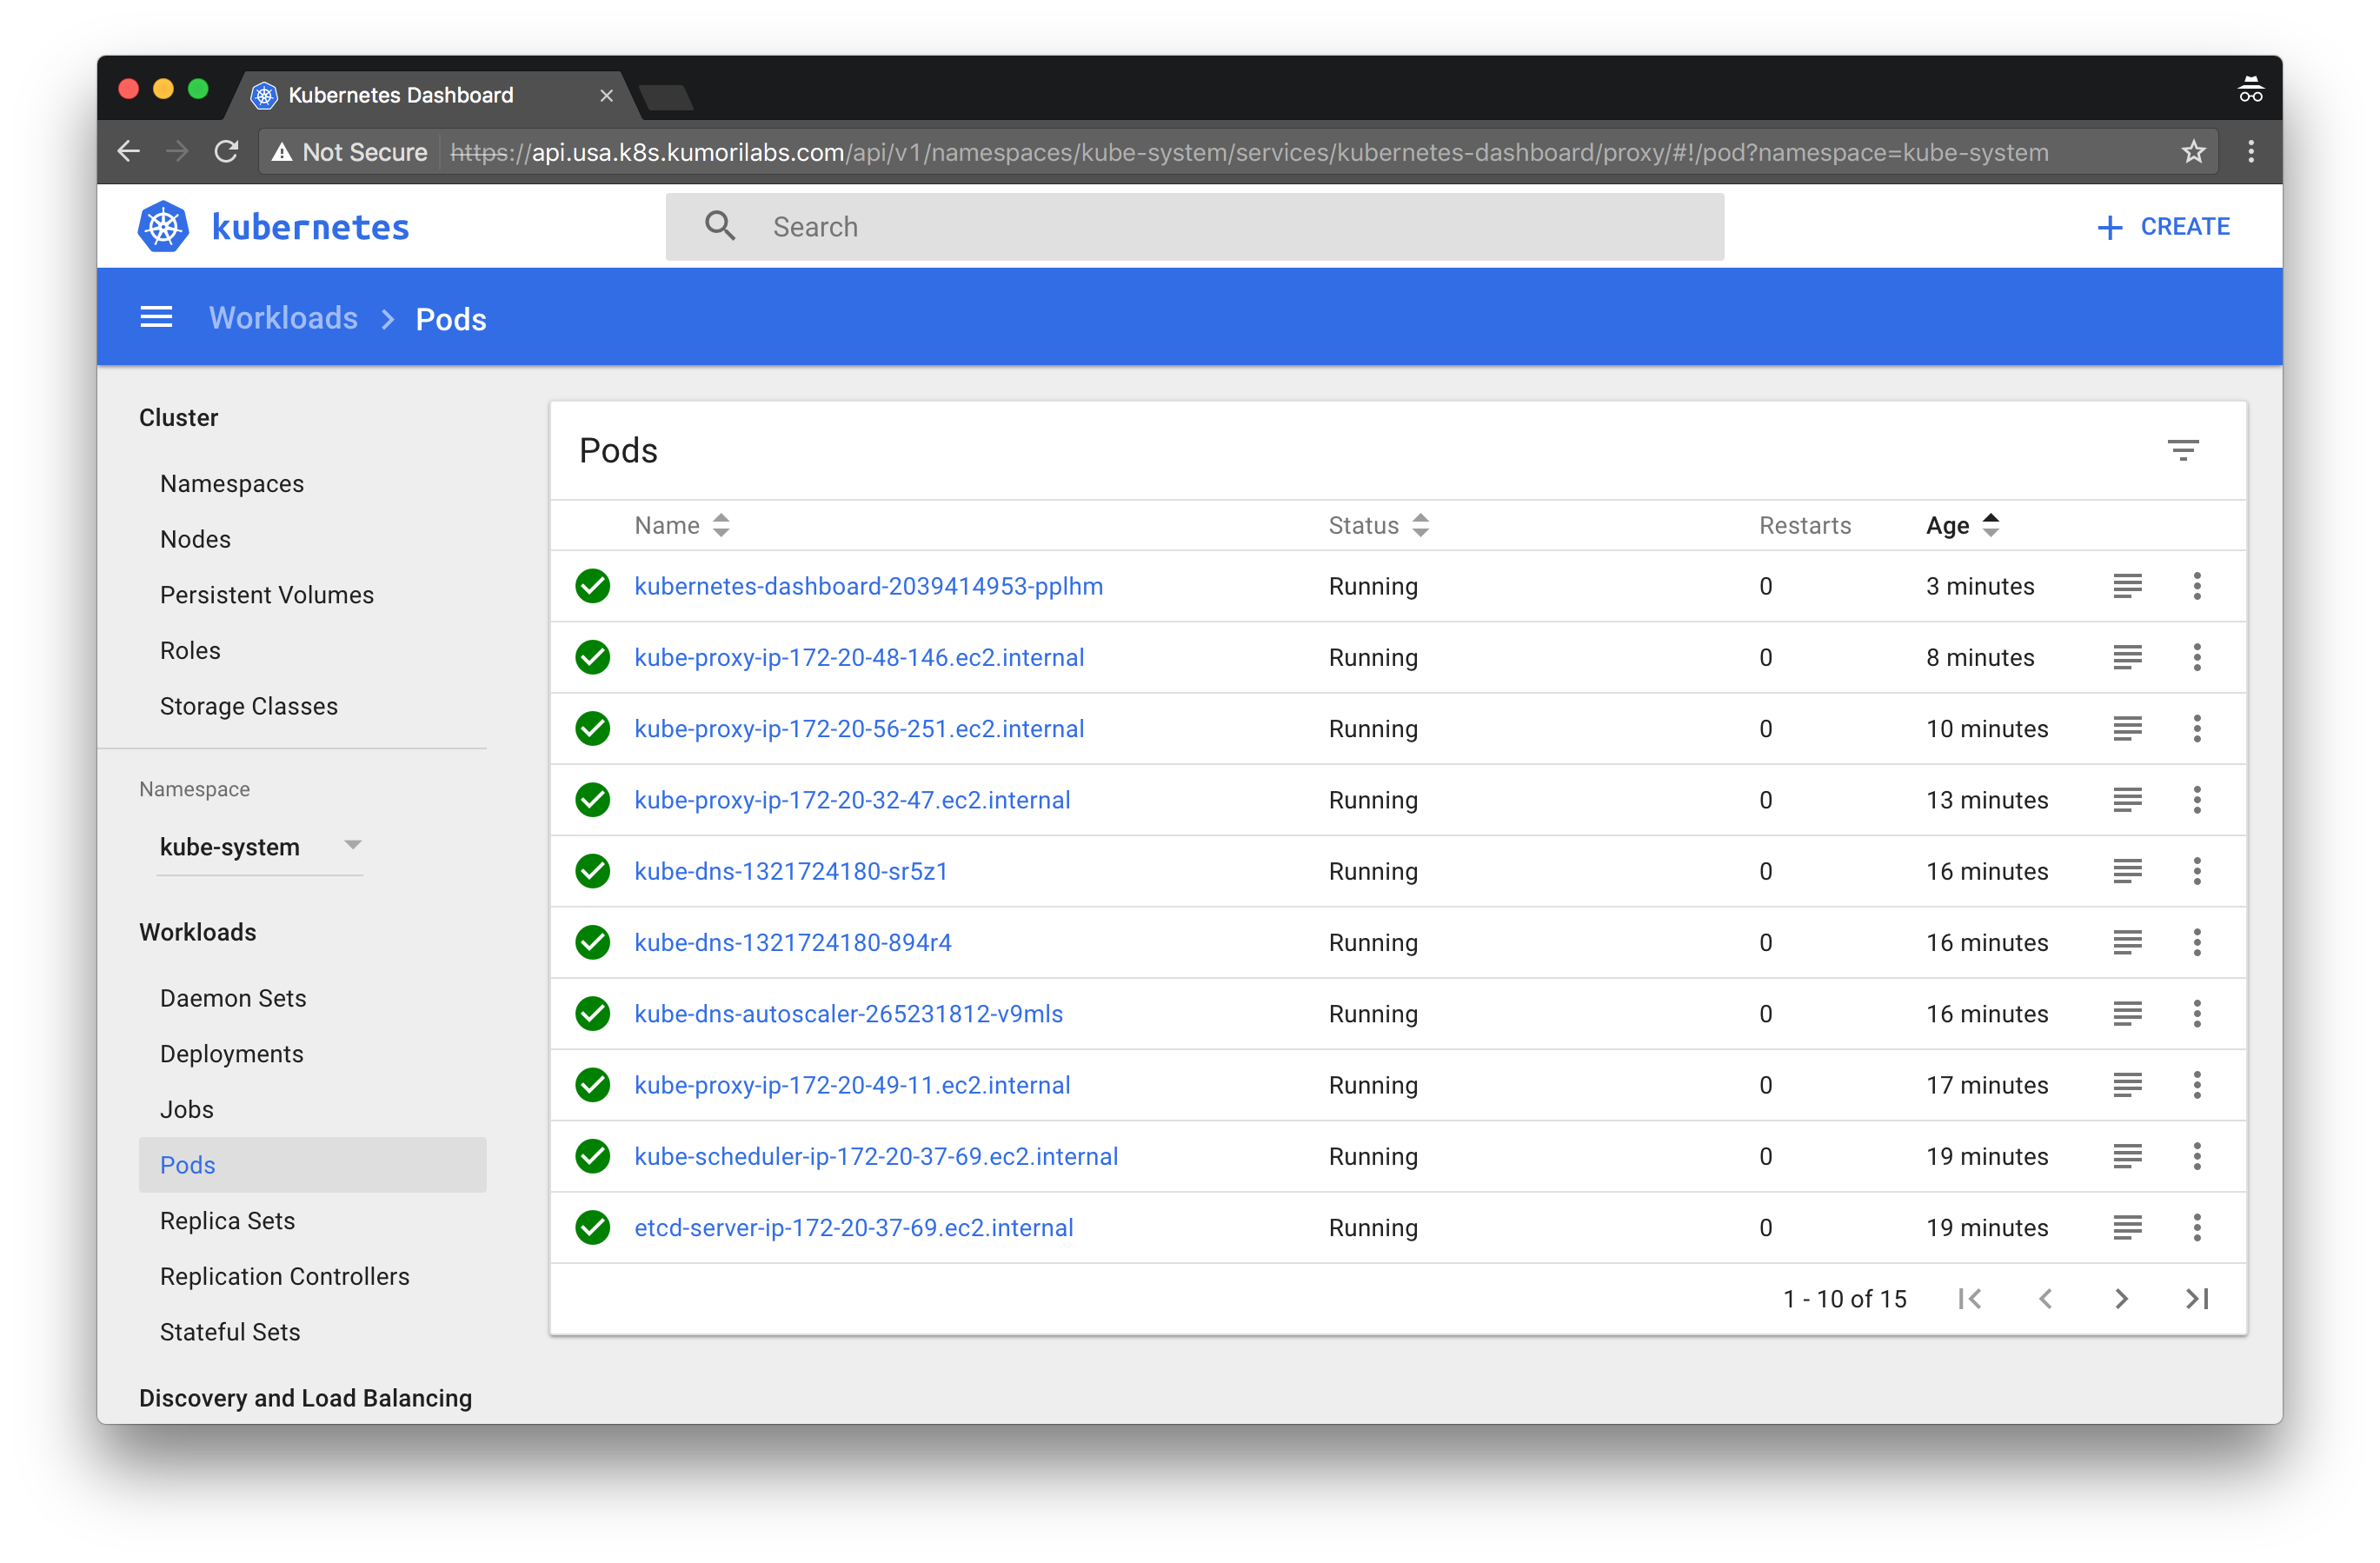
Deploy the Kubernetes dashboard
To deploy the latest stable release of the Kuberenetes dashboard:
kubectl apply -f https://raw.githubusercontent.com/kubernetes/dashboard/master/src/deploy/alternative/kubernetes-dashboard.yaml
serviceaccount "kubernetes-dashboard" created
role "kubernetes-dashboard-minimal" created
rolebinding "kubernetes-dashboard-minimal" created
deployment "kubernetes-dashboard" created
service "kubernetes-dashboard" created
This will create the Kubernetes Deployment and Service for the dashboard. The URL for the dashboard will be https://api.${CLUSTER_FULL_NAME}/ui/:
echo "https://api.${CLUSTER_FULL_NAME}/ui/"
https://api.usa.k8s.kumorilabs.com/ui/
You will be prompted to authenticate. The username is admin and to retrieve the password, run the following and get the value for password: in the users: section:
kubectl config view --minify
apiVersion: v1
clusters:
- cluster:
    certificate-authority-data: REDACTED
    server: https://api.usa.k8s.kumorilabs.com
  name: usa.k8s.kumorilabs.com
contexts:
- context:
    cluster: usa.k8s.kumorilabs.com
    user: usa.k8s.kumorilabs.com
  name: usa.k8s.kumorilabs.com
current-context: usa.k8s.kumorilabs.com
kind: Config
preferences: {}
users:
- name: usa.k8s.kumorilabs.com
  user:
    client-certificate-data: REDACTED
    client-key-data: REDACTED
>   password: RStCxLG1G8HpvemewR0ffcL5uIAVPUKi
>   username: admin
Refer to the official user guide for an overview of the dashboard.
Cleanup
Before proceeding to the next lab, delete the cluster and it’s associated S3 bucket:
Delete the cluster
Delete the cluster:
kops delete cluster ${CLUSTER_FULL_NAME} --yes
Delete the S3 bucket in AWS:
aws s3api delete-bucket --bucket ${CLUSTER_FULL_NAME}-state
In addition to the step-by-step instructions provided for each lab, the repository also contains scripts to automate some of the activities being performed in this blog series. See the Using Scripts guide for more details.
Next Up
In the next lab, Lab #3: Creating Deployments & Services in Kubernetes, we will go through the following:
- Creating Deployments
- Creating Services
Other Labs in the Series
- Introduction: A Blog Series About All Things Kubernetes
- Lab #1: Deploy a Kubernetes Cluster in AWS with Kops
- Lab #3: Creating Deployments & Services in Kubernetes
- Lab #4: Kubernetes Deployment Strategies: Rolling Updates, Canary & Blue-Green
- Lab #5: Setup Horizontal Pod & Cluster Autoscaling in Kubernetes
- Lab #6: Integrating Jenkins and Kubernetes
- Lab #7: Continuous Deployment with Jenkins and Kubernetes
- Lab #8: Continuous Deployment with Travis CI and Kubernetes
- Lab #9: Continuous Deployment with Wercker and Kubernetes
- Lab #10: Setup Kubernetes Federation Between Clusters in Different AWS Regions